
Canning Tools That Actually Make Canning Easier
This post may contain affiliate links, which means I may earn a small commission at no additional cost to you. As an Amazon Associate I earn from qualifying purchases.
You don’t need every gadget sold in the canning aisle to put food on the pantry shelf.
I own and use three very different canning setups: a 20-quart stockpot for water-bath canning, a Presto Digital Pressure Canner, and an All-American pressure canner. They each earn their place for a completely different reason.
The stockpot is inexpensive and does a dozen other jobs in my kitchen. The Presto takes much of the intimidation out of pressure canning. And the All-American is the traditional, buy-it-for-life option I expect to still be using decades from now.
The smaller tools are the same way. I’ve used the standard old-school jar lifter, but the spring-loaded Ball version is simply easier. I like ForJars lids. And having an actual jar opener for breaking the seal on home-canned food is a little thing that makes using what I’ve preserved much less annoying.
This isn’t a list of every canning product you could buy. These are the things I actually think make canning easier.

You May Already Own a Water-Bath Canner
One of my water-bath canners isn’t technically a canner at all.
It’s my 20-quart stockpot.
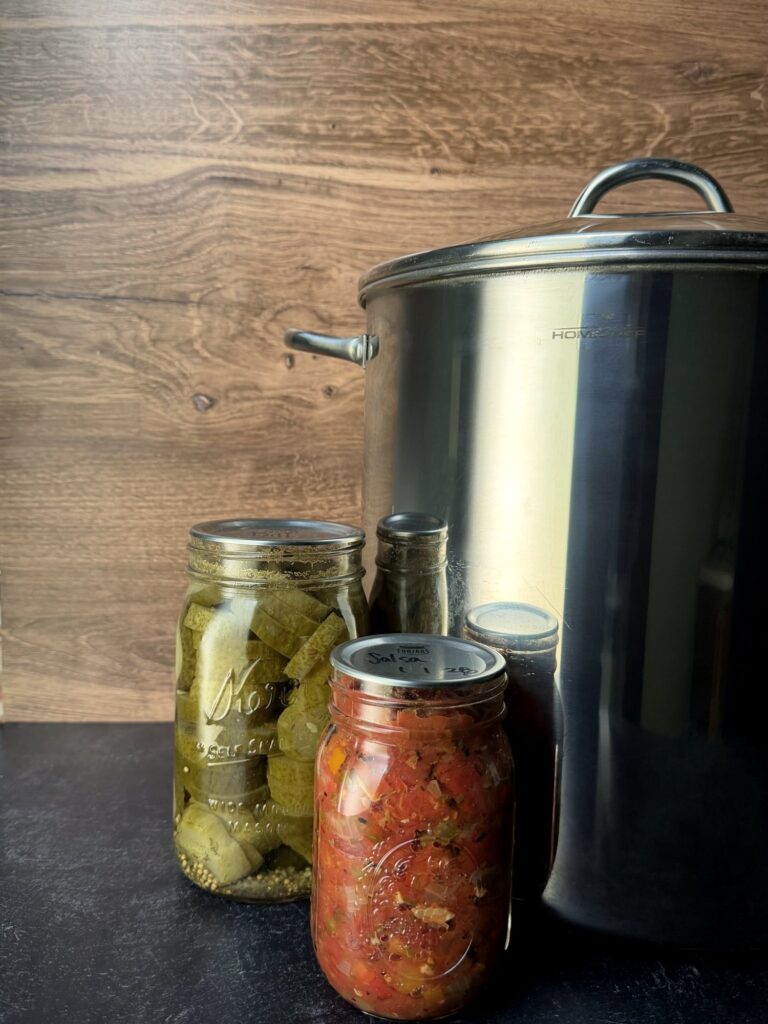
I like using a stockpot for water-bath canning because it keeps the entry point low. If you’re just starting to preserve food, you don’t necessarily need to buy a big dedicated canning pot that only comes out when you’re processing jars.
My stockpot can go right back to making big batches of soup, stock, pasta, or anything else that calls for a large pot when I’m finished canning.
That matters to me. Kitchen storage is valuable, and I like equipment that can do more than one job.
A stockpot isn’t automatically suitable just because it’s large, though. For boiling-water canning, the pot needs to be deep enough to keep the required amount of boiling water above the jars throughout processing, and the jars need to sit on a rack rather than directly on the bottom. The National Center for Home Food Preservation calls for at least 1 inch of water over the jar tops during processing, increasing to 2 inches for processing times over 30 minutes.
Follow the tested recipe you’re using for the correct processing method and time.
Why I Like the Stockpot Option
For someone starting with water-bath canning, this is probably the lowest-commitment way to begin.
You can buy one useful pot instead of another single-purpose appliance—or potentially use one you already have if it meets the requirements.
Even if you decide a few years from now that canning isn’t something you want to do regularly, you still own a really useful stockpot.
That’s a much easier place to start than feeling like you need to buy an entire canning setup before you process your first jar.
If Pressure Canning Makes You Nervous, Look at the Presto Digital Canner
This is probably the canner I talk about most differently from traditional pressure canners because it solves a very specific problem: pressure canning makes a lot of people nervous.
I have the 12-quart Presto Precise Digital Pressure Canner, and the easiest comparison I can make is that it makes pressure canning feel much more like using an Instant Pot.
If you’re buying one, I’d suggest the larger 17-quart Presto Digital Pressure Canner.
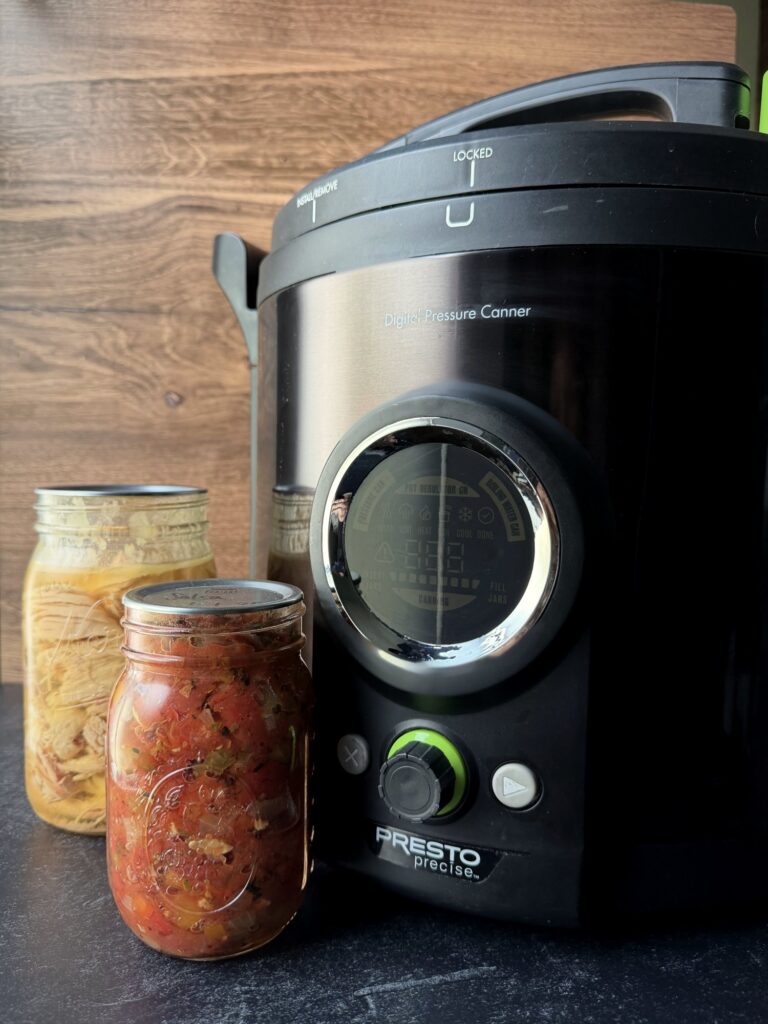
I don’t mean that an Instant Pot and a pressure canner are interchangeable. They aren’t.
I mean the experience of using it is much more approachable.
Instead of putting a traditional canner on the stove and managing the pressure yourself, the Presto walks you through the process on its digital display. That’s what makes it such a good option for someone who wants to pressure can but is uneasy about the traditional process.
Presto says its Precise Digital Pressure Canners guide the user through the canning steps and regulate the required processing temperature automatically. Its instructions use standard research-tested processing guidelines based on USDA home-canning guidance. The USDA and National Center for Home Food Preservation provide canning guidelines but do not certify or approve individual canning appliances, so I would never describe the Presto as “USDA approved.”
Why I Recommend It to Nervous Pressure Canners
If the thing keeping you from pressure canning is all the talk about gauges, pressure, venting, burner adjustments, and watching the canner, the Presto removes a lot of that mental barrier.
You still need to follow the directions. You still need a research-tested recipe. It isn’t a shortcut around safe canning practices.
It simply makes the actual canner easier to operate.
And I think there’s real value in that. The safest canning equipment in the world doesn’t help much if you’re so uncomfortable with the process that you never use it.
The Presto Is Not an Instant Pot
This distinction is worth making very clearly.
When I compare the Presto to an Instant Pot, I’m talking about ease of use only.
An Instant Pot or another electric multi-cooker should not be treated as a replacement for a pressure canner just because it can build pressure or includes a button labeled for canning.
The National Center for Home Food Preservation specifically says its USDA-developed pressure-canning processes should not be transferred to electric multi-cookers.
Use the appropriate equipment and follow the manufacturer’s instructions along with a research-tested canning recipe.
My Buy-It-for-Life Option: The All-American Pressure Canner
I also own an All-American pressure canner, and it fills a completely different role in my kitchen.
Mine is an older, larger model. For most home canners, I’d suggest the 25-quart All-American.
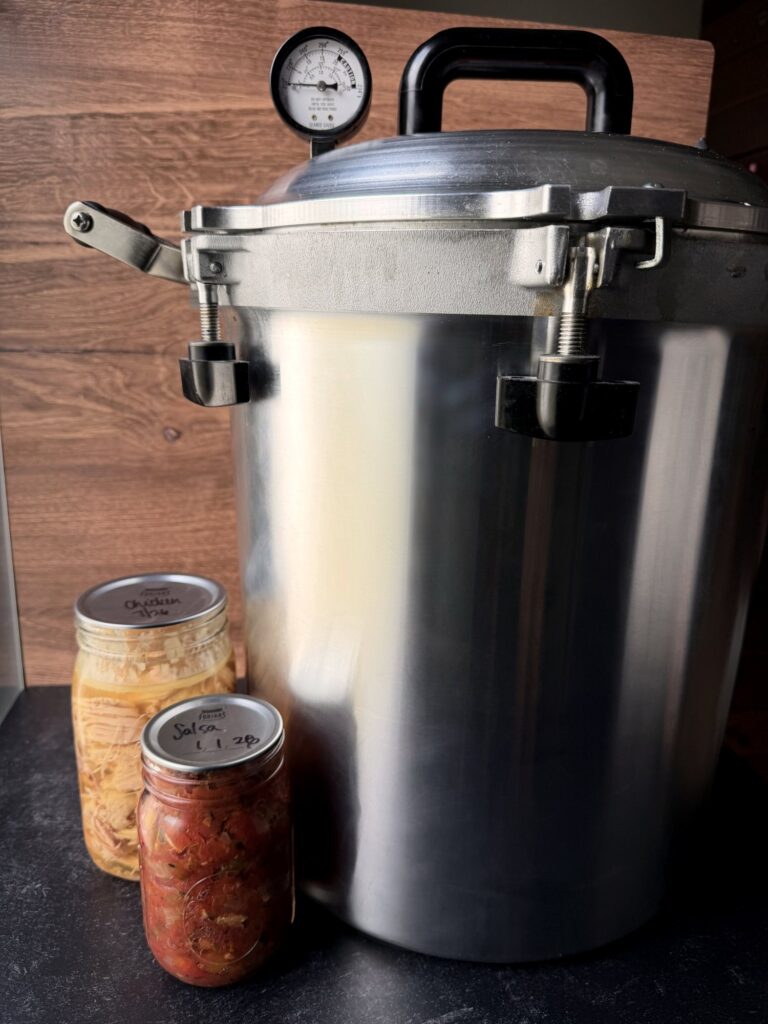
If the Presto is the one I’d show someone who says, “Pressure canning scares me,” the All-American is the one I’d show someone who says, “I want to buy a traditional pressure canner once and keep it forever.”
That’s how I look at mine.
The appeal is its simplicity.
All-American canners use a precision-machined metal-to-metal seal instead of a rubber gasket. That means there isn’t a lid gasket that eventually dries out, cracks, or needs routine replacement.
That’s a big part of why I consider it a lifetime purchase.
I wouldn’t literally say there’s nothing on a pressure canner that can ever need attention—the gauge, regulator, vent and other components still need to be kept in proper condition. All-American itself sells replacement parts for those components. But the basic canner is remarkably simple, and that simplicity is exactly what I like about it.
There isn’t an electronic control board or digital display driving the process. It’s traditional equipment, and that means you’re also more involved in operating it.
For me, that’s not a drawback. It’s just a completely different experience from the Presto.
Presto Digital vs. All-American
I wouldn’t declare one of these “better,” because I own both for different reasons.
The Presto Digital: I reach for this recommendation when someone is concerned about the pressure-canning process and wants something that feels simple and guided.
The All-American: I think of this as my durable, traditional, long-term canner—the one built around a very simple mechanical design.
There’s enough difference between the two that I’m going to cover canner options in a separate article rather than trying to turn this equipment guide into a full buying comparison.
The Ball Spring-Loaded Jar Lifter Is Better Than the Old-School Version
A jar lifter is not optional equipment for me. You’re handling jars full of very hot food and water, so I want a tool that makes that job as easy as possible.
I’ve used the traditional style of jar lifter.
I prefer the Ball spring-loaded jar lifter.

The difference sounds minor until you’re actually using it.
The spring opens the lifter back up for you, so moving from one jar to the next is easier than it is with the traditional old-school version. When I’m removing an entire batch of hot jars, I notice the difference.
It’s one of those inexpensive upgrades where I don’t see much reason to choose the harder-to-use version if you’re buying one anyway.
If I were putting together a starter canning kit today, this is the jar lifter I’d put in it.
The Canning Lids I Like: ForJars
Canning lids are one of the things you’re going to buy over and over if you preserve much food.
I like ForJars canning lids, and they’re what I want to keep stocked in my pantry.
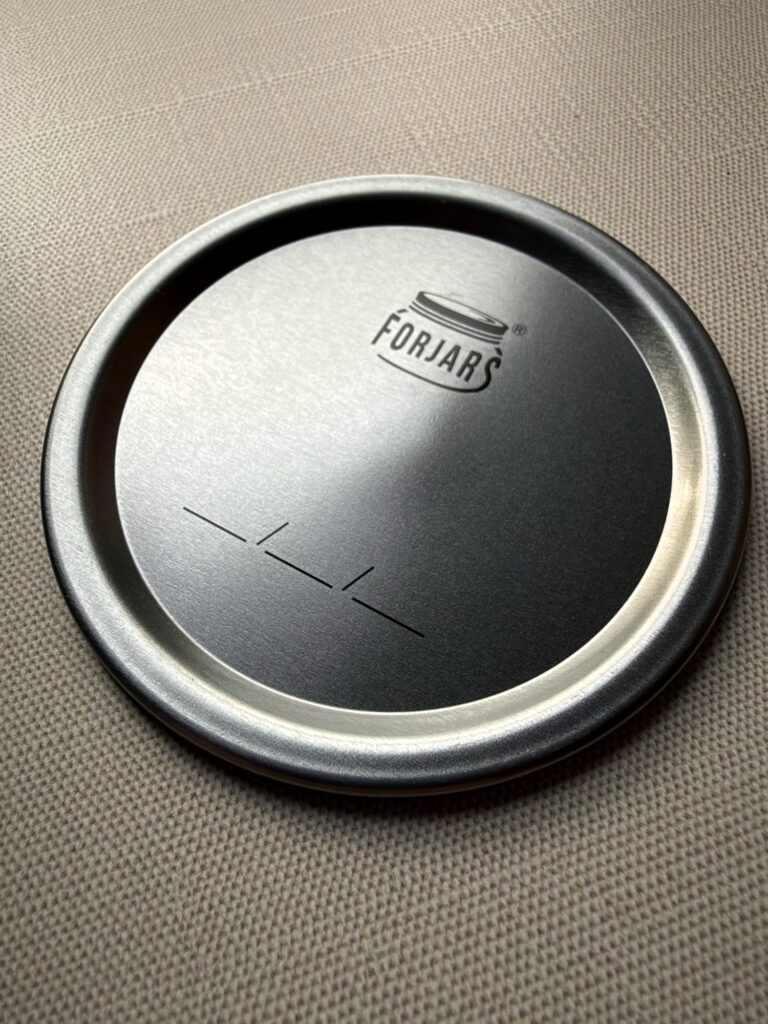
I keep both regular-mouth and wide-mouth sizes because the last thing I want when I’ve already got food ready for jars is to discover that I don’t have the lid size I need.
This is also an area where buying ahead makes sense for the way I use my pantry. Lids aren’t an exciting piece of equipment, but they’re exactly the kind of staple I don’t want to run out of in the middle of a preserving day.
Follow the lid manufacturer’s instructions for preparation and use.
A Jar Opener Makes Home-Canned Food Easier to Use
Here’s one of the least glamorous items on this list—and one I specifically want in my canning setup.
When a home-canned jar has a solid vacuum seal, that lid can be surprisingly stubborn when it’s finally time to eat what’s inside.
I don’t want to be prying around the lid with random kitchen tools or fighting with it at dinner.
A jar opener designed to get underneath the edge of the flat lid gives you the leverage to release that seal much more easily.
It’s a small thing, but I think preserving equipment should make both ends of the process easier: putting food into the pantry and actually getting it out when you’re ready to use it.
Yes, You Need a Canning Funnel
Some tools are inexpensive enough and useful enough that I wouldn’t bother trying to work around them.
A canning funnel is one.
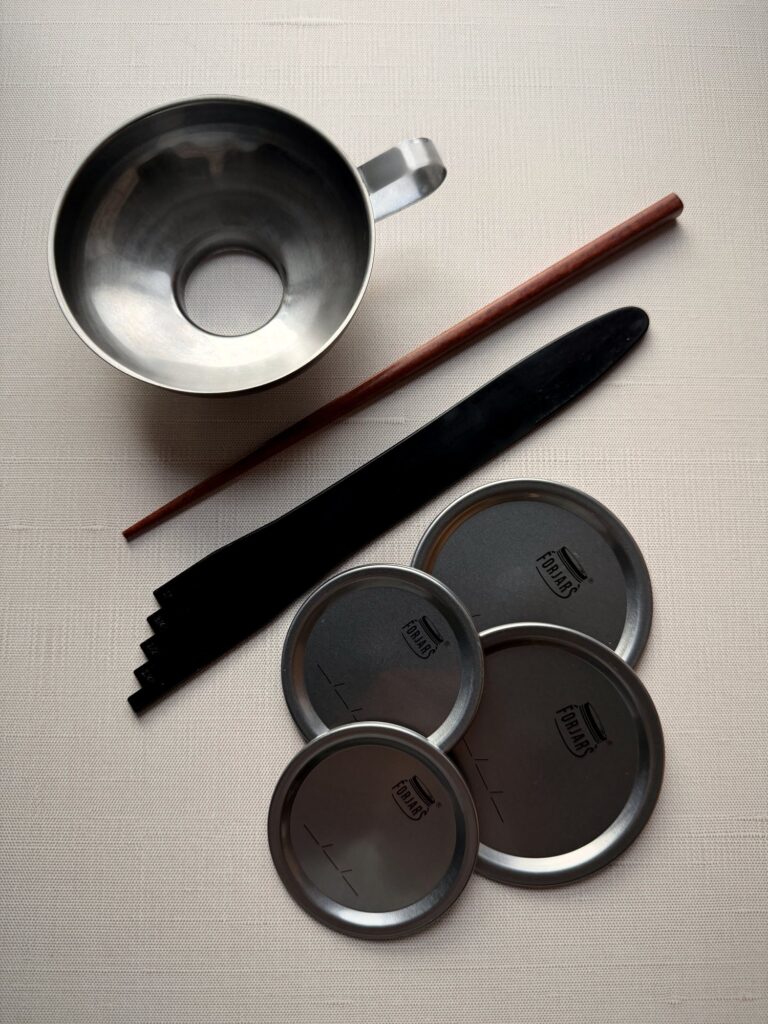
Could I fill jars without one? Sure.
Would I intentionally do that while ladling hot sauce, soup, fruit, or other food into jars? No.
A funnel makes filling cleaner and gives me less food to wipe off the jar rim before putting the lid on.
This doesn’t need to be an elaborate or expensive piece of equipment. I want one that fits the jars well, washes easily, and does its job.
Keep a Headspace and Bubble Tool With Your Canning Supplies
This is another simple tool that earns its drawer space.
Tested canning recipes specify a particular headspace, and this isn’t something I want to eyeball when a cheap measuring tool can give me the answer immediately.
A bubble-removing tool can also be used where the tested recipe directs you to remove trapped air before making the final headspace adjustment.
It’s not exciting.
It’s useful.
Those are often my favorite kinds of pantry tools.
If You’re Using a Stockpot, Add a Rack
This goes back to my 20-quart stockpot setup.
If you’re turning a large stockpot into a boiling-water canner, the jars shouldn’t be sitting directly on the bottom of the pot. A rack keeps the jars elevated and allows the boiling water to circulate around them.
Make sure the rack actually fits your pot and keeps your jars stable.
This is one place where trying to improvise something awkward just isn’t worth it. A properly fitting rack is inexpensive and makes the setup much easier to use.
What I Would Buy First If I Were Starting From Scratch
I would not start by buying one of those huge canning kits full of fifteen little tools just because the package says “canning.”
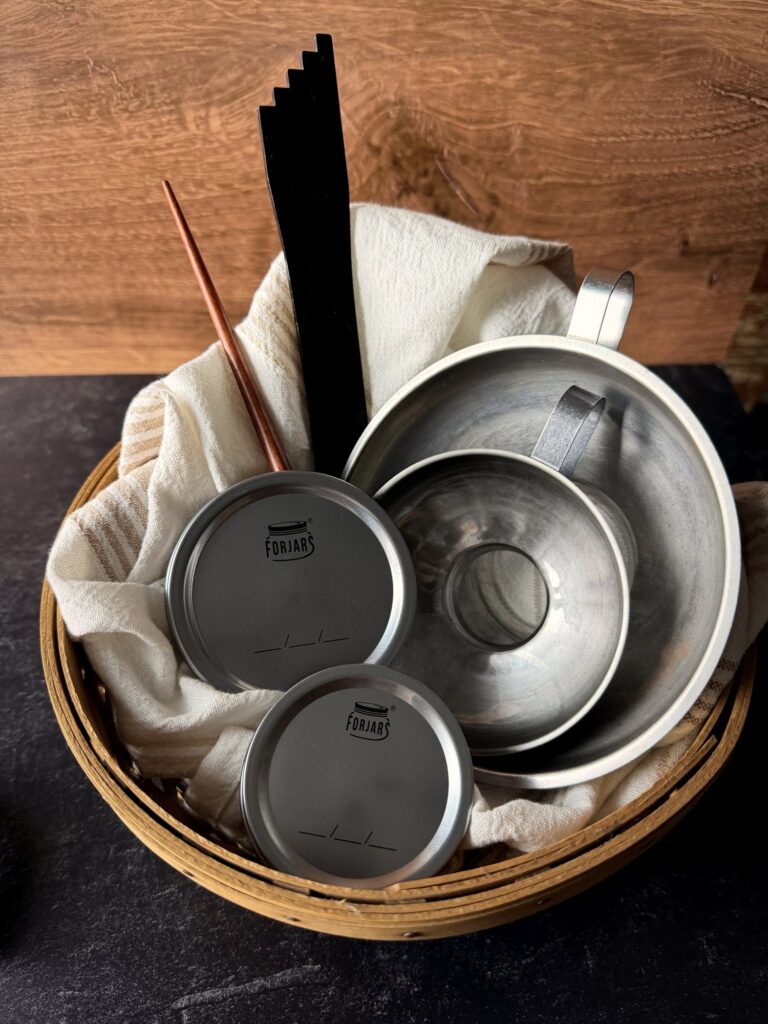
I’d start with the pieces I know I would actually use:
- A spring-loaded jar lifter
- A canning funnel
- A headspace/bubble-removing tool
- A rack appropriate for my pot or canner
- Jars
- Good canning lids
- A jar opener for the finished food
Then I’d choose the actual canner based on what I wanted to preserve.
If I wanted the lowest-cost starting point:
I’d use a large, suitable stockpot for water-bath canning.
That’s exactly why my 20-quart pot belongs on this list. It isn’t just canning equipment, and I’m not giving up cabinet space to something I can only use for one job.
If I wanted to pressure can but the process made me nervous:
I’d look hard at the Presto Digital Canner.
It takes a process that can feel pretty intimidating and makes the actual operation feel much more familiar and manageable.
If I wanted a traditional pressure canner for the long haul:
I’d buy an All-American.
Its gasket-free, metal-to-metal design is exactly the kind of simple equipment I like buying once and keeping.
What I Wouldn’t Rush Out to Buy
You probably already own plenty of the other things you’ll use while canning.
Large bowls. Measuring cups. Ladles. Kitchen towels. Timers.
I wouldn’t replace ordinary kitchen tools with special “canning” versions unless the new tool genuinely solved a problem.
That’s really the standard I’m using throughout this list.
The Ball jar lifter made the list because I’ve used the old style and the spring-loaded version is easier.
The Presto made the list because it genuinely changes how approachable pressure canning feels.
The All-American made the list because I value its simple, long-lasting design.
The stockpot made the list because it lets one piece of equipment do more than one job.
Those are actual reasons to buy something.
“Because it was included in a 14-piece canning kit” isn’t.
Canning Tools FAQ
Do I need a special water-bath canner?
Not necessarily.
A suitable stockpot can be used for boiling-water canning as long as it is large and deep enough for the jars and required water level, has a lid, and is used with an appropriate rack.
NCHFP says boiling-water canners need enough depth to maintain at least 1 inch of boiling water above the jars during processing, or 2 inches for processes longer than 30 minutes.
That’s why I use my 20-quart stockpot as one of my water-bath options.
Is the Presto Digital Canner easier than a traditional pressure canner?
In my experience, yes.
That’s actually the main reason I recommend it.
The digital controls guide you through the process, and I find the experience much closer to operating an Instant Pot than managing a traditional stovetop pressure canner.
Again, that’s a comparison of ease of use, not a suggestion that an Instant Pot can replace a pressure canner.
Can I pressure can in an Instant Pot?
I don’t.
The National Center for Home Food Preservation does not recommend applying its USDA pressure-canning processes to electric multi-cookers.
I use equipment intended for pressure canning and follow tested canning recipes.
Is an All-American pressure canner worth it?
For me, yes, because I’m looking at it as a lifetime purchase.
I like the metal-to-metal seal, the lack of a replaceable rubber lid gasket, and the basic mechanical simplicity of the canner.
If you only expect to pressure can occasionally or strongly prefer an automated process, you may value something different. That’s why I think choosing a canner deserves its own comparison article.
What canning tool has been the easiest inexpensive upgrade?
My Ball spring-loaded jar lifter.
I’ve used the traditional kind, and I simply find the spring-loaded version easier to operate.
It’s not a dramatic piece of equipment. It just does the same job with less fiddling, which is exactly what I want when I’m handling hot jars.
What canning lids do I use?
I like ForJars canning lids and keep both regular- and wide-mouth lids available.
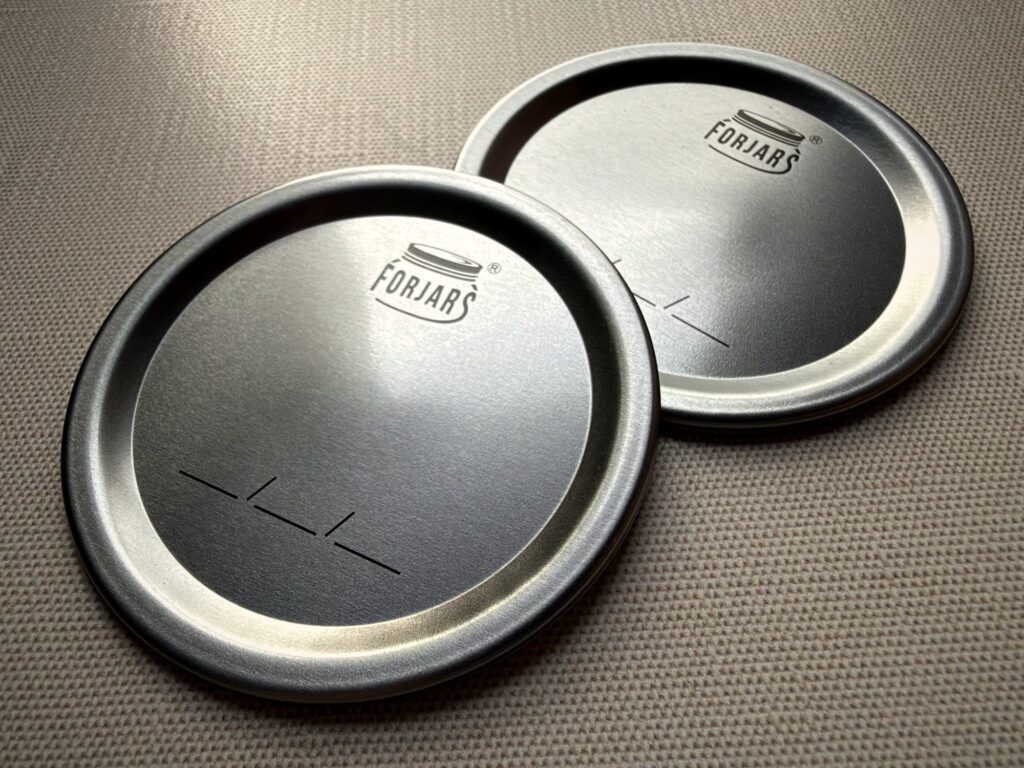
I don’t want to be in the middle of filling jars and discover I’ve run out of the size I need.
Do I need every tool in a canning kit?
No.
I would rather buy a handful of good tools I actually use than a large kit containing things that live in the back of a drawer.
For me, the core small tools are a good jar lifter, canning funnel, headspace/bubble tool, and the appropriate rack for my setup.
The Canning Setup That Works Is the One You’ll Actually Use
After using everything from a multipurpose stockpot to a digital canner to an All-American, I don’t think there is one “correct” canning setup everyone needs to own.
I think there are better tools for different people.
If you’re just dipping your toe into water-bath canning, you may not need much more than a pot you already own and a few inexpensive tools.
If you’ve wanted to pressure can but the process has always made you nervous, the Presto Digital Canner can remove a lot of that intimidation.
And if you’re looking for traditional equipment you can plan on keeping for decades, that’s where my All-American fits.
Then there are the tiny upgrades—the spring-loaded jar lifter, lids I trust, and a good opener—that don’t cost much but make the process run more smoothly every time I can.
My general rule is pretty simple:
Use what you already own when it does the job safely and well. Spend money on the pieces that genuinely make the job easier.
That’s the kind of equipment that earns space in my kitchen and pantry.
One Comment