Ingredients
Equipment
Method
Prepare the chicken and broth
- Cook the chicken. Add the chicken (I start with frozen) and the appropriate amount of water for your Instant Pot, then pressure cook until the meat is fully cooked and tender. The exact cooking time depends on the size and cut of chicken, whether it's frozen, and your Instant Pot model. Chicken should reach a safe internal temperature of 165°F. To follow the USDA's published tested hot-pack preparation exactly, safely thaw the chicken first, then boil, steam, or bake until approximately two-thirds done.
- Remove the chicken from the bones. Once the chicken is cool enough to handle safely, pull it apart into larger pieces rather than finely shredding it. Remove all bones, cartilage, and excess fat.
- Prepare the broth. Strain the cooking liquid to remove bones and other solids, and skim off excess fat. Keep the broth hot. The chicken pieces and broth should be hot when the jars are filled.
Fill the jars
- Prepare the jars. Inspect the jars for chips or cracks, paying particular attention to the rims. Wash in hot, soapy water, rinse thoroughly, and keep them hot until you're ready to fill them. Prepare new flat lids according to the manufacturer's instructions.
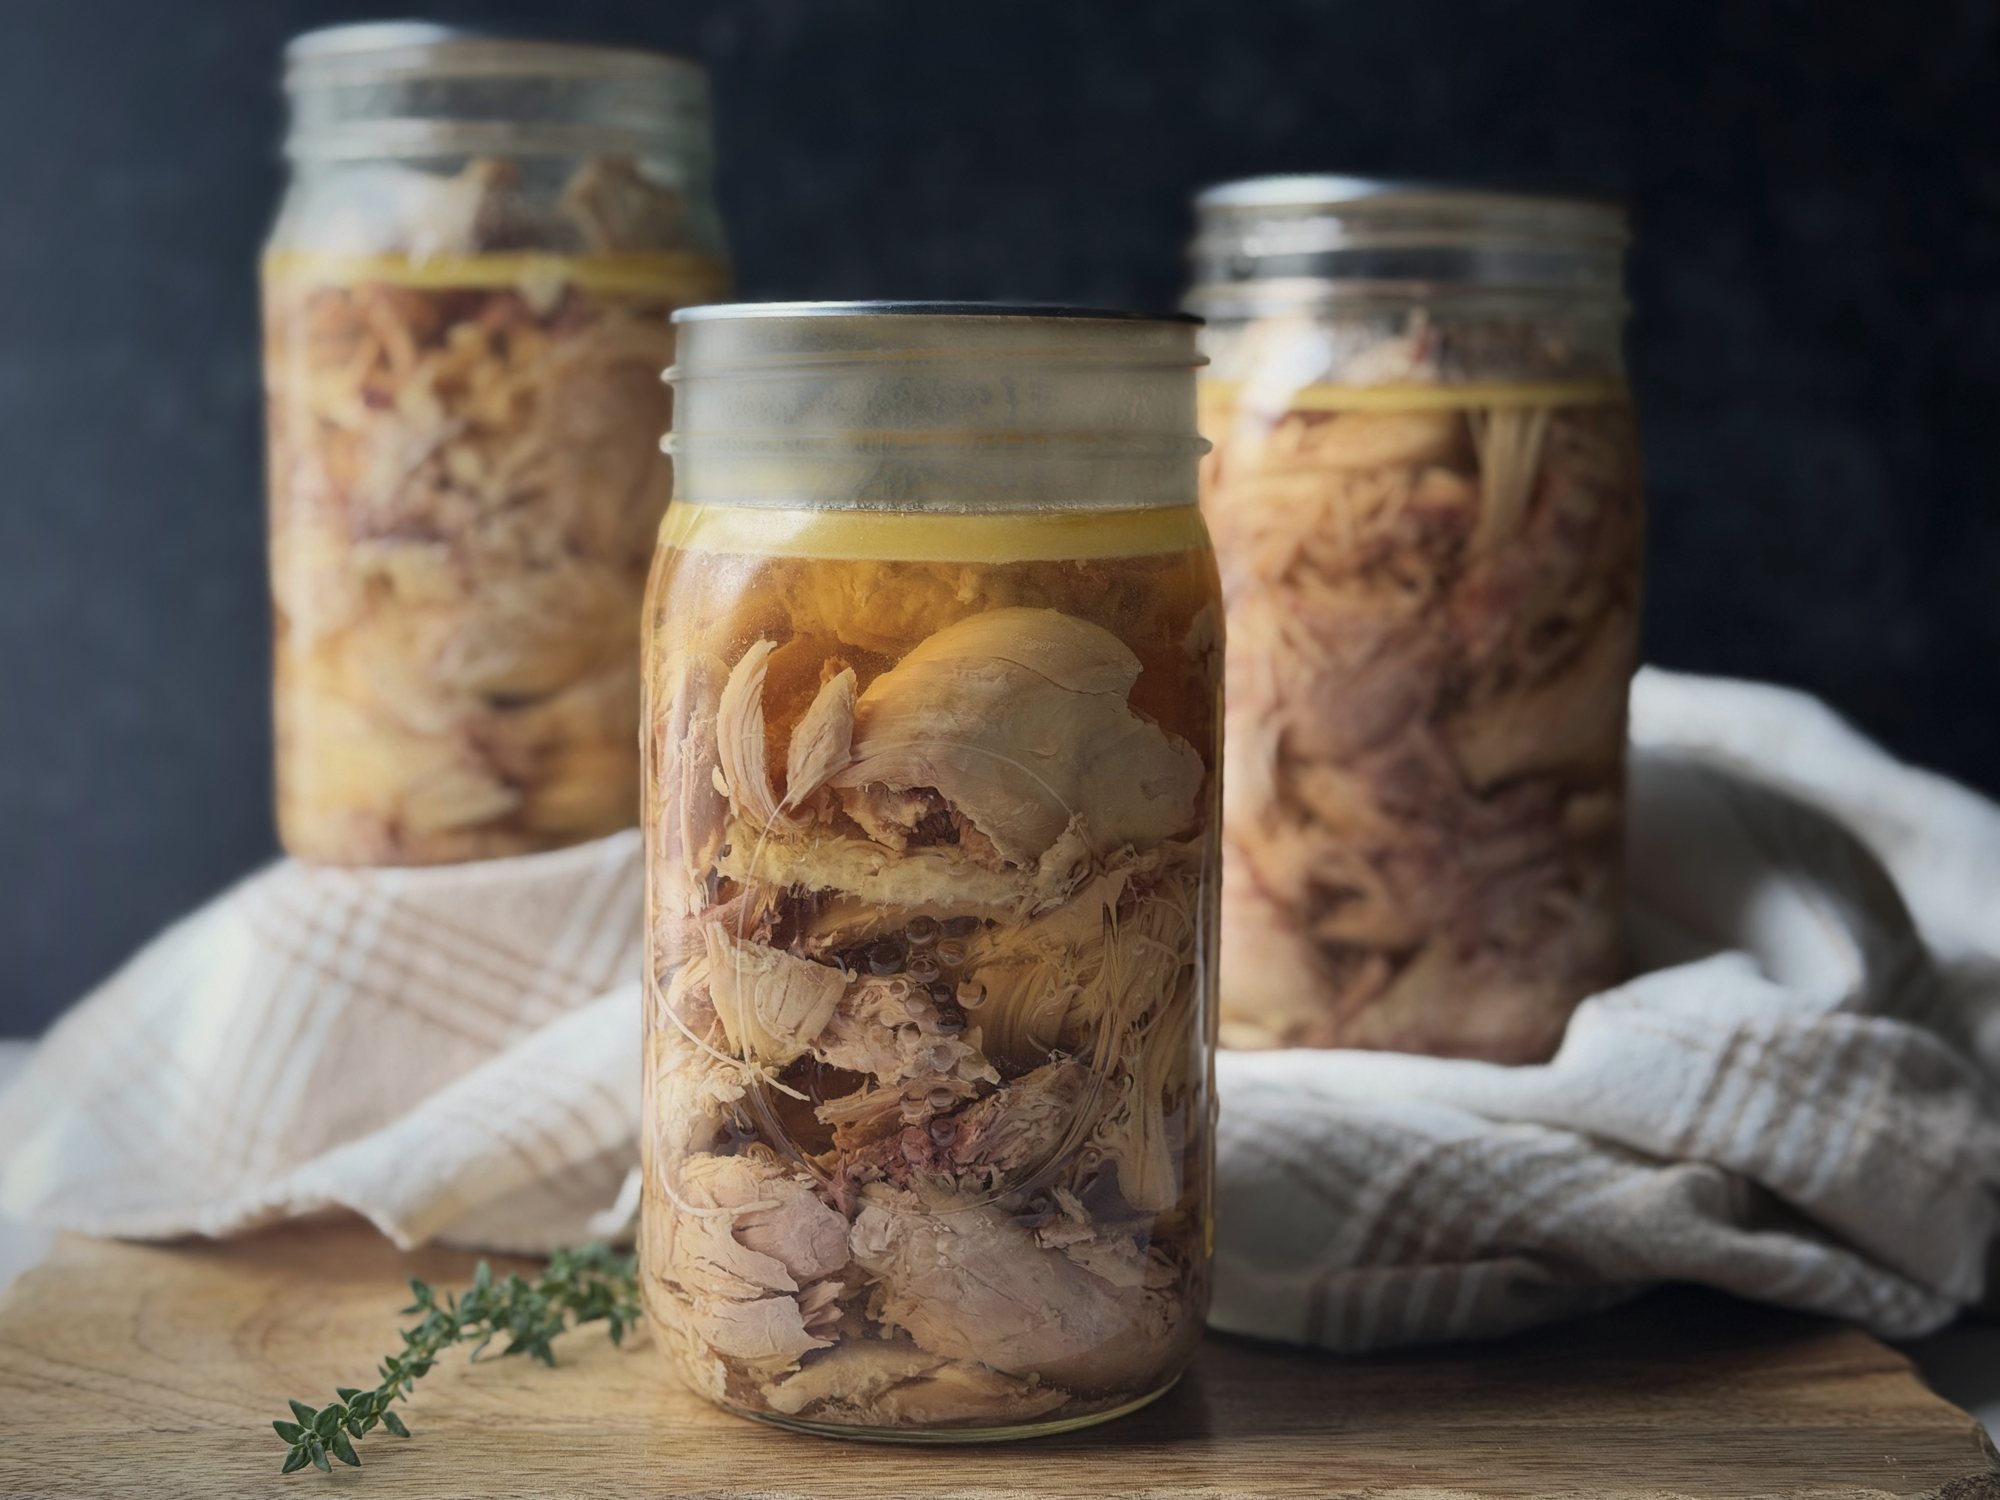
- Fill the jars. Place the hot chicken pieces into the jars using a canning funnel. Don't mash or tightly compress the meat. If desired, add canning salt: ½ teaspoon per pint or 1 teaspoon per quart. Pour hot chicken broth over the chicken, leaving 1¼ inches of headspace.
- Remove air bubbles. Run a bubble-removing tool gently around the inside of each jar. Measure the headspace again and adjust the broth if necessary to keep 1¼ inches of headspace.
- Wipe the rims and add the lids. Wipe the rim of each jar thoroughly with a clean, damp paper towel. Center a new flat lid on the jar, add the ring, and tighten to fingertip-tight, following your lid manufacturer's instructions. Do not overtighten.
Process in a conventional pressure canner
- Load the canner. Place the jars on the canner rack and add the amount of water specified by the manufacturer, generally 2–3 inches for a conventional stovetop pressure canner. Secure the lid and heat the canner.
- Vent and pressurize. Allow steam to vent continuously for 10 minutes, then bring the canner to the correct pressure for your elevation (see notes).
- Process. Begin timing only when the correct pressure has been reached. Process boneless pints for 75 minutes or boneless quarts for 90 minutes. Maintain the required pressure throughout. If pressure drops below the required level, return to the correct pressure and restart the entire processing time.
- Depressurize. Turn off the heat and allow the canner to depressurize naturally. Once fully depressurized, remove the weight or open the vent, wait 10 minutes, then carefully open the lid away from your face.
- Cool. Remove the jars with a jar lifter, keeping them upright, and place them on a towel or cooling rack. Let them cool undisturbed for 12–24 hours. Avoid touching or tightening the rings while the jars cool.
- Check and store. After 12–24 hours, remove the rings, check that each lid has sealed properly, wash and dry the jars, and label each jar with the contents and date. Store in a cool, dark, dry location. If a jar doesn't seal, refrigerate it promptly or follow USDA-approved reprocessing instructions.
Notes
Pressure for dial-gauge canners: 0–2,000 feet: 11 PSI; 2,001–4,000 feet: 12 PSI; 4,001–6,000 feet: 13 PSI; 6,001–8,000 feet: 14 PSI.
Pressure for weighted-gauge canners: 0–1,000 feet: 10 PSI; above 1,000 feet: 15 PSI.
These processing times and pressures come from the USDA/National Center for Home Food Preservation's boneless-chicken instructions. Processing times do not include the time needed to heat the canner, vent, reach pressure, or cool naturally. Always confirm your elevation and use the instructions appropriate to your canner.
Digital pressure canners: The standard USDA pressure tables should not automatically be applied to an electric appliance. Confirm that your model has appropriate, validated processing instructions for chicken and follow them. A regular electric pressure cooker or Instant Pot is not an acceptable substitute for a pressure canner.
Fully cooked chicken: My fully cooked Instant Pot method is a personal preparation preference, rather than a separately laboratory-tested USDA recipe. For the published, research-tested process, follow the National Center for Home Food Preservation's standard hot-pack preparation.
For best quality, use properly processed home-canned chicken within one year. Never taste chicken from an unsealed, leaking, bulging, or otherwise suspicious jar. Follow USDA guidance to boil home-canned low-acid foods before tasting or eating: 10 minutes at elevations below 1,000 feet, adding one minute for each additional 1,000 feet.
