How to Can Chicken at Home
This post may contain affiliate links, which means I may earn a small commission at no additional cost to you. As an Amazon Associate I earn from qualifying purchases.
If there’s one thing I always love having in my pantry, it’s home-canned chicken. It’s hands-down one of my favorite meal-planning shortcuts, and I think it tastes so much better than anything you’ll buy in a can at the grocery store!
With a large family to feed, I love anything that makes getting dinner on the table easier. Having jars of cooked chicken ready to use means I can put together soups, casseroles, chicken salad, and all kinds of family meals without having to plan ahead to thaw meat.
And my favorite part? I cook the chicken straight from frozen in my Instant Pot, and it makes the broth I need for canning at the same time. No separate batch of broth required!
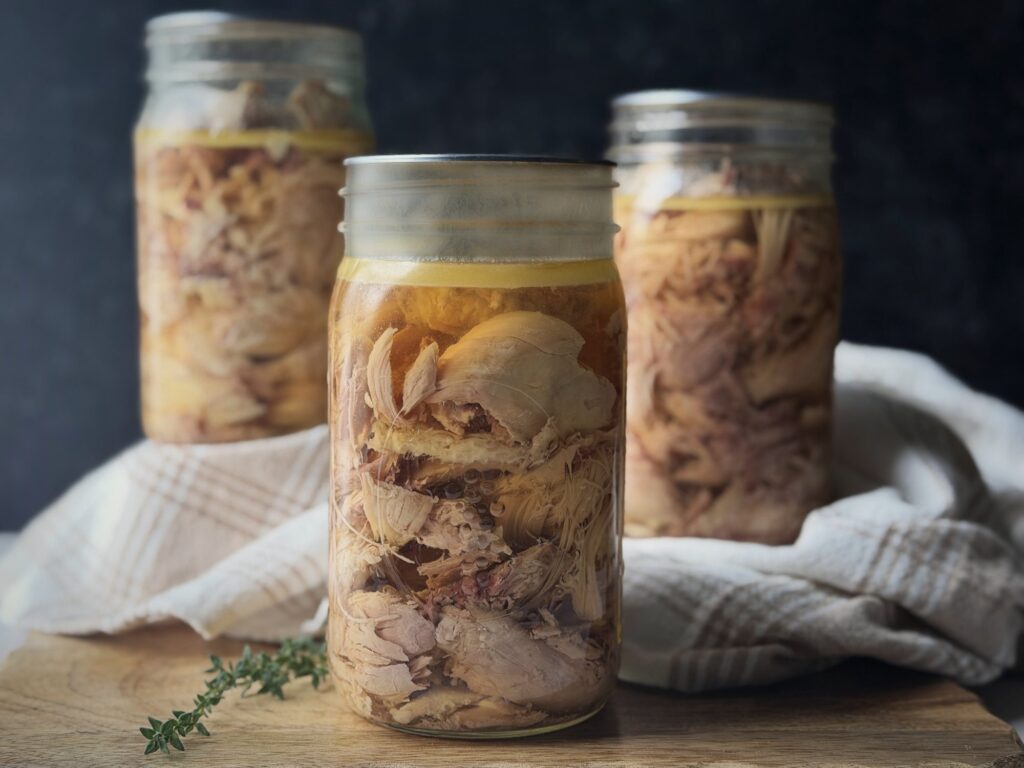
I also prefer cooking my chicken before canning rather than raw packing it. I leave the meat in larger chunks, which gives me a finished product I really love.
Let’s talk about how I prepare my chicken, what you’ll need, and the important pressure-canning guidelines for pints and quarts.
Why I Love Canning Chicken
Canning chicken is one of those kitchen tasks that takes some effort upfront but makes life so much easier later.
Here’s why I think it’s worth doing:
- It’s ready when I need it. No thawing chicken for a last-minute dinner.
- It’s perfect for buying in bulk. I can take advantage of good prices and preserve extra chicken.
- It frees up freezer space. That’s especially valuable when you’re storing other meat and garden produce.
- It makes meal planning easier. I can build a meal around ingredients already in my pantry.
- It tastes amazing. I much prefer the flavor and texture of my homemade chicken over store-bought canned chicken.
For me, this is exactly what having a well-stocked pantry is all about.
Why I Cook My Chicken Before Canning
There are two traditional methods for canning chicken: raw pack and hot pack.
- Raw packing means placing uncooked chicken directly into jars without adding liquid.
- Hot packing involves cooking the chicken before filling the jars and adding hot broth.
I personally don’t care for the appearance of raw-packed chicken. I prefer the look of chicken surrounded by broth, and I really like the finished product when I cook it first.
My Instant Pot Shortcut
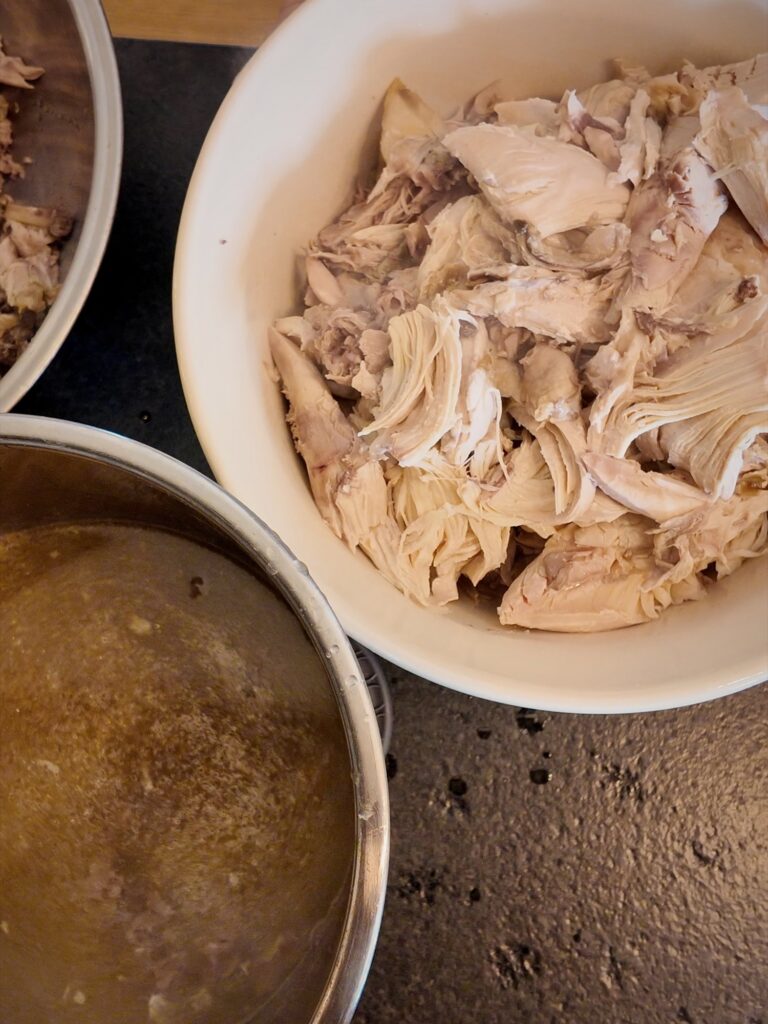
I start with frozen chicken and cook it in my Instant Pot until fully cooked and tender.
Once it’s cool enough to handle, I remove the meat from the bones.
Here’s my trick: I leave the chicken in larger chunks rather than shredding it into tiny pieces.
I’ve found this makes a difference in the texture after canning.
And while the chicken cooks, it produces a delicious broth that I can use when filling my jars. For my usual batches, it’s always just about the perfect amount!
That means I get both the chicken and the broth from the same cooking session.
A Note About Fully Cooked Chicken
The USDA’s standard hot-pack instructions recommend cooking chicken approximately two-thirds done before placing it in jars.
However, Oregon State University Extension addressed this question in March 2024 and explained that using already-cooked chicken is not inherently a safety issue, although the texture can be drier or tougher.
That’s why I prefer keeping my chicken in larger pieces.
My fully cooked Instant Pot method is a personal preparation preference, rather than a separately laboratory-tested USDA recipe. For the published, research-tested process, follow the National Center for Home Food Preservation‘s standard hot-pack preparation.
What You’ll Need
Ingredients
- Chicken, whole or in pieces
- Chicken broth from cooking the chicken
- Canning salt, optional
I prefer using chicken with bones because I can make the broth during cooking.
For meal planning, I estimate about 1 pound of chicken per pint jar. This is a rough estimate, not an exact packing requirement. The amount varies depending on the size of the chicken pieces and how much broth fits into the jar.
Quarts are a convenient option when you’re preparing meals for a larger family.
Equipment
- Instant Pot for cooking the chicken
- Pressure canner suitable for processing low-acid foods
- Pint or quart Mason jars
- New canning lids and rings
- Canning funnel
- Jar lifter
- Headspace measuring tool
- Bubble-removing tool
- Clean paper towels
You can find more information about my favorite canning equipment and supplies on my Canning Resources page.
How I Prepare Chicken for Canning
Step 1: Cook the Chicken in the Instant Pot
I typically start with frozen chicken, so I don’t have to remember to thaw it ahead of time.
I add the chicken and the appropriate amount of water for my Instant Pot, then pressure cook until the meat is fully cooked and tender.
The exact cooking time depends on the size and cut of chicken, whether it’s frozen, and the Instant Pot model you’re using. Chicken should reach a safe internal temperature of 165°F.
As the chicken cooks, it creates a flavorful broth.
This is one of my favorite parts of the process because I don’t have to prepare a separate batch of broth.
Food safety note: The following describes my personal fully cooked preparation. To follow the USDA’s published tested hot-pack preparation exactly, safely thaw the chicken first, then boil, steam, or bake until approximately two-thirds done before filling the jars.
Step 2: Remove the Chicken From the Bones
Once the chicken is cool enough to handle safely, I remove the meat from the bones.
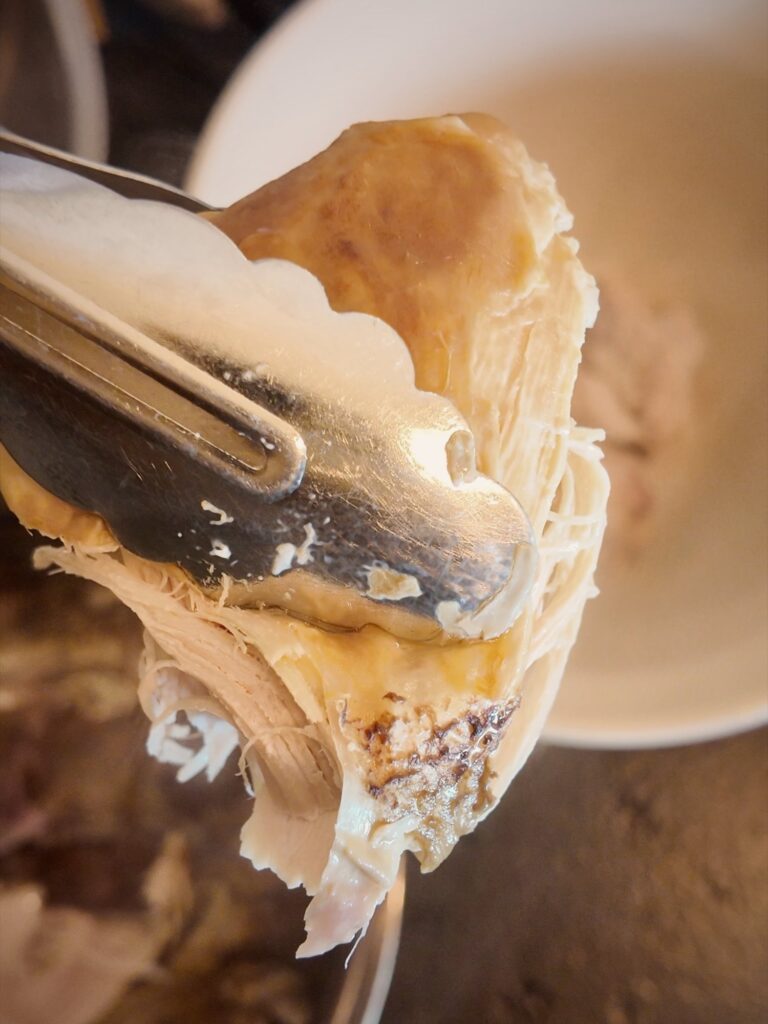
I don’t finely shred the chicken.
Instead, I pull it apart into larger pieces. I prefer the way these larger pieces hold together, and they’re easy to use later in everything from casseroles to chicken salad.
Remove all bones, cartilage, and excess fat.
Step 3: Prepare the Broth
Strain the cooking liquid to remove bones and other solids.
I also skim off excess fat before using it in my jars.
Keep the broth hot while preparing the chicken and jars.
For the tested hot-pack process, the chicken pieces and broth should be hot when the jars are filled.
Step 4: Prepare the Jars
Inspect your Mason jars for chips or cracks, paying particular attention to the rims.
Wash the jars in hot, soapy water and rinse thoroughly. Keep them hot until you’re ready to fill them.
Prepare new flat lids according to the manufacturer’s instructions.
Step 5: Fill the Jars
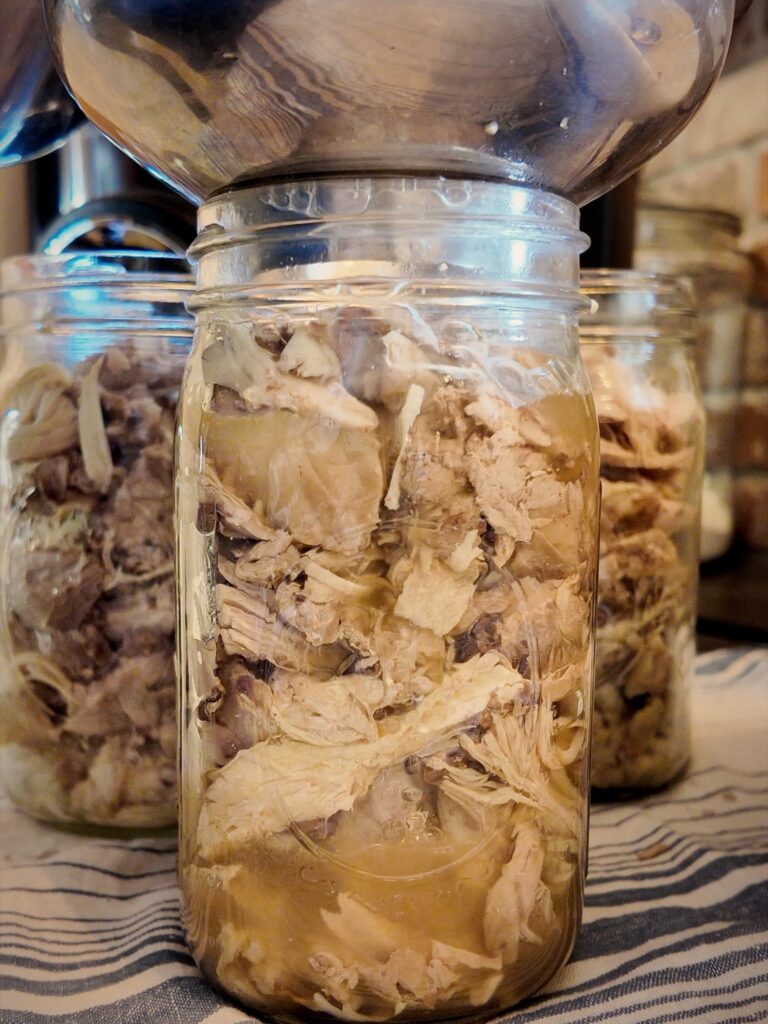
Place the hot chicken pieces into your jars using a canning funnel.
Don’t mash or tightly compress the meat into the jars.
If desired, add canning salt:
- Pint jars: ½ teaspoon
- Quart jars: 1 teaspoon
Salt is optional and is used for flavor rather than preservation.
Pour hot chicken broth over the chicken, leaving 1¼ inches of headspace.
Headspace is the space between the top of the food or liquid and the top rim of the jar.
Step 6: Remove Air Bubbles
Run a bubble-removing tool gently around the inside of each jar to release trapped air.
I use a wooden tool for this step.
After removing the bubbles, measure the headspace again and adjust the broth if necessary.
You still want 1¼ inches of headspace.
Step 7: Wipe the Rims and Add the Lids
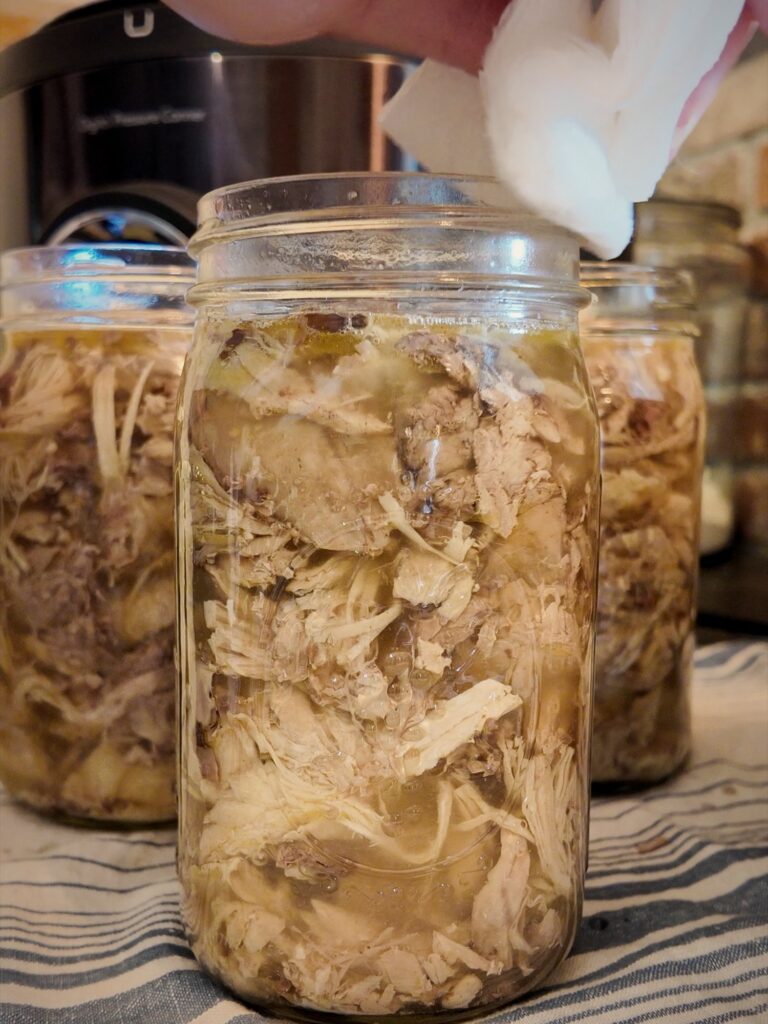
Use a clean, damp paper towel to wipe the rim of each jar thoroughly.
This is especially important when canning meat because grease or food residue can interfere with a proper seal.
Center a new flat lid on the jar and add the ring.
Tighten the ring to fingertip-tight, following your lid manufacturer’s instructions.
Do not overtighten.
Pressure Canning Chicken: Pints and Quarts
Chicken is a low-acid food and must be processed in a suitable pressure canner.
A boiling-water canner is not safe for preserving chicken, and a regular Instant Pot should not be used as a substitute for a pressure canner.
The National Center for Home Food Preservation provides the following processing times for boneless chicken prepared according to its published hot-pack or raw-pack instructions.
| Jar Size | Processing Time |
|---|---|
| Pints | 75 minutes |
| Quarts | 90 minutes |
These are processing times only. They do not include the time needed to heat the canner, vent, reach pressure, or cool naturally.
Pressure Settings for Dial-Gauge Canners
| Elevation | Pressure |
|---|---|
| 0–2,000 feet | 11 PSI |
| 2,001–4,000 feet | 12 PSI |
| 4,001–6,000 feet | 13 PSI |
| 6,001–8,000 feet | 14 PSI |
Pressure Settings for Weighted-Gauge Canners
| Elevation | Pressure |
|---|---|
| 0–1,000 feet | 10 PSI |
| Above 1,000 feet | 15 PSI |
These schedules come from the USDA/National Center for Home Food Preservation’s boneless-chicken instructions. They are not separate validation of every variation in preparation or every electric canner model.
Always confirm your elevation and use the instructions appropriate to your canner.
Source: National Center for Home Food Preservation — Chicken or Rabbit
Processing in a Conventional Pressure Canner
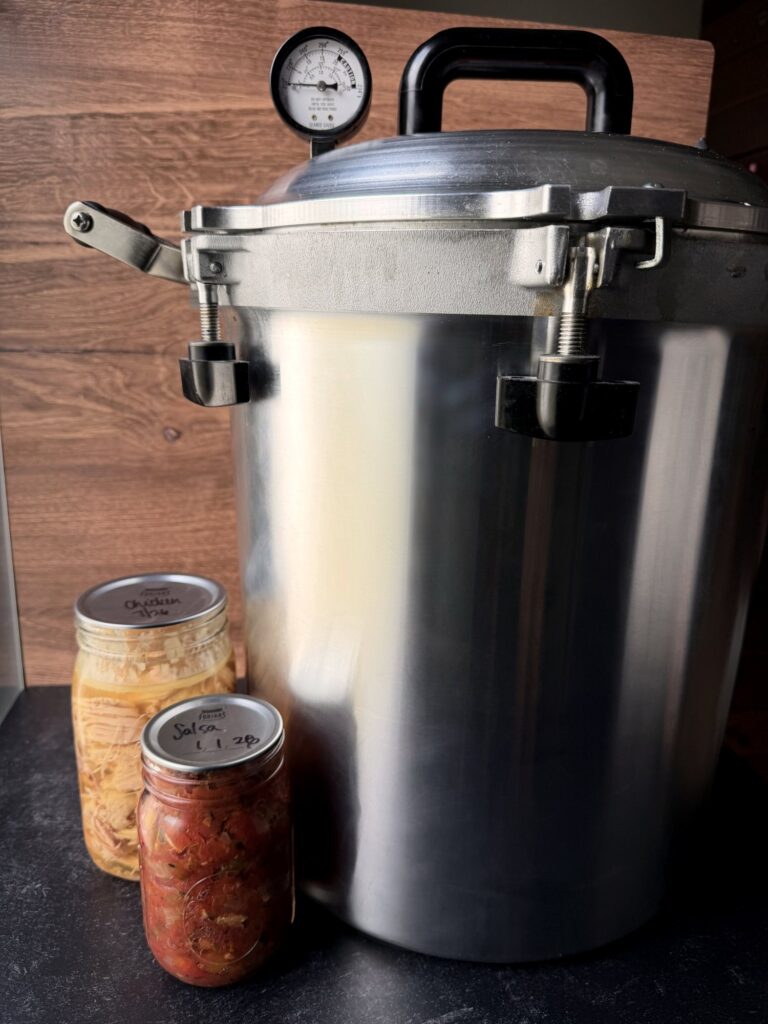
- Place the jars on the canner rack and add the amount of water specified by the manufacturer, generally 2–3 inches for a conventional stovetop pressure canner.
- Secure the lid and heat the canner.
- Allow steam to vent continuously for 10 minutes before pressurizing.
- Bring the canner to the correct pressure for your elevation.
- Begin timing only when the correct pressure has been reached.
- Process boneless pints for 75 minutes or boneless quarts for 90 minutes.
- Maintain the required pressure throughout processing. If pressure drops below the required level, return to the correct pressure and restart the entire processing time.
- When processing is complete, turn off the heat and allow the canner to depressurize naturally.
- Once fully depressurized, remove the weight or open the vent, wait 10 minutes, then carefully open the lid away from your face.
- Remove the jars with a jar lifter, keeping them upright, and place them on a towel or cooling rack.
Never rush the depressurization process.
What About a Digital Pressure Canner?
I use a digital pressure canner because I appreciate how convenient the automated process is.
I can prepare the jars, start the canning cycle, and use that time for other work around the house.
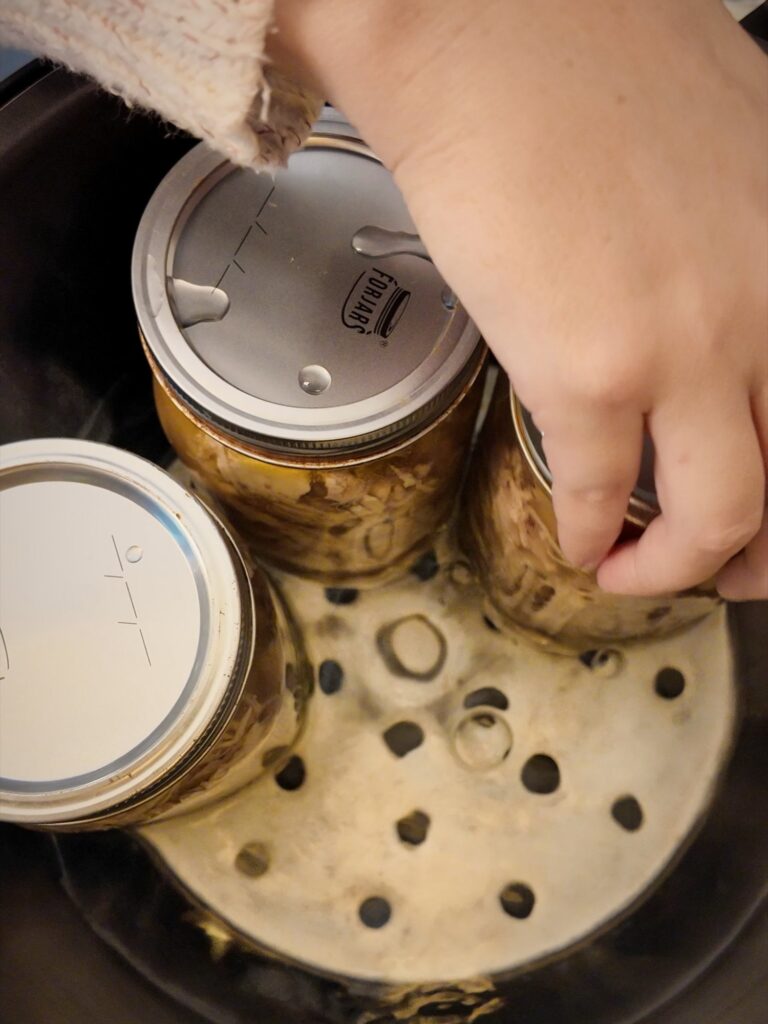
However, digital pressure canners are not all the same, and the standard USDA pressure tables should not automatically be applied to an electric appliance.
Before using one for low-acid foods, confirm that your particular model has appropriate, validated processing instructions for chicken. Follow the instructions for its cycle, water level, altitude limitations, and cooling procedure, and remain available to monitor it as required.
A regular electric pressure cooker is not an acceptable substitute.
Cooling and Storing Your Canned Chicken
Once the jars are removed from the canner, place them upright on a towel or cooling rack.
Let them cool undisturbed for 12–24 hours.
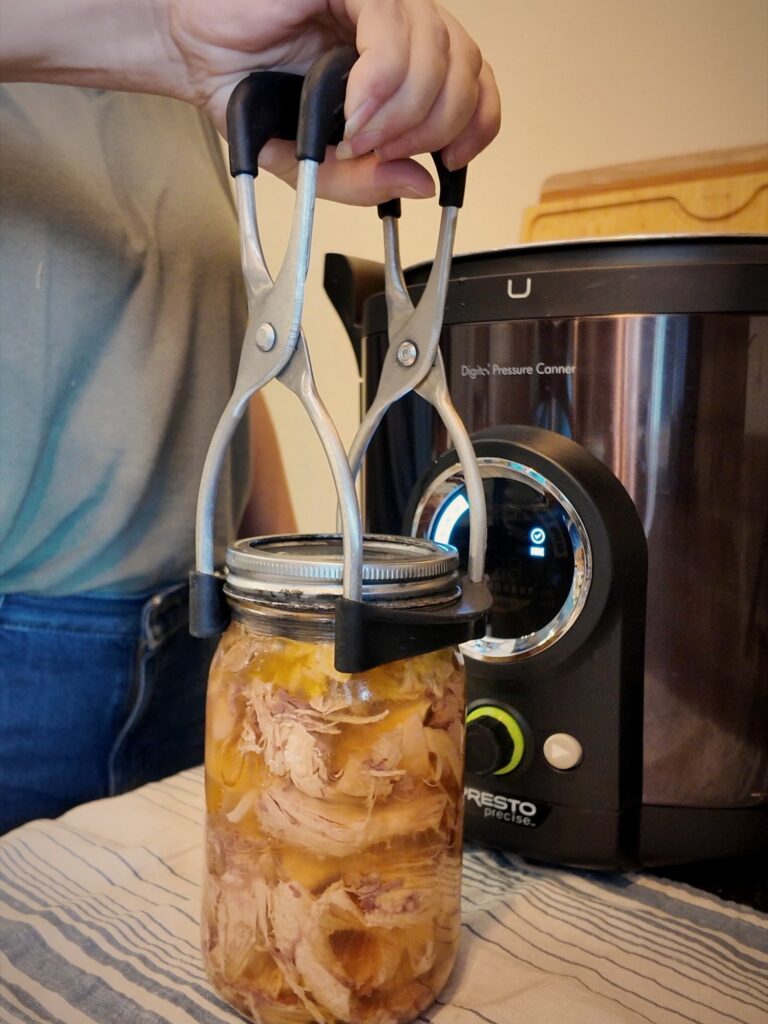
It’s completely normal to see the contents bubbling inside the jars when they first come out of the canner. They’re still extremely hot!
Avoid touching or tightening the rings while the jars cool.
After 12–24 hours:
- Remove the rings.
- Check that each lid has sealed properly.
- Wash and dry the jars.
- Label each jar with the contents and date.
- Store in a cool, dark, dry location.
For best quality, use properly processed home-canned chicken within one year.
If a jar doesn’t seal, refrigerate it promptly or follow USDA-approved reprocessing instructions.
Never taste chicken from an unsealed, leaking, bulging, or otherwise suspicious jar.
Should You Can Chicken in Pints or Quarts?
I think both sizes have their place in a well-stocked pantry.
Pint Jars
A pint is a convenient size for smaller meals and recipes requiring a modest amount of chicken.
I estimate roughly a pound of chicken per pint when planning my batches, although the actual amount can vary.
Pints are great for:
- Chicken salad
- Quesadillas
- Small casseroles
- Quick soups
- Chicken sandwiches
Quart Jars
For our family, quarts are particularly useful when I’m planning dinner.
They’re a convenient size for meals that require several servings of chicken.
I like using quarts for:
- Chicken pot pie
- Large casseroles
- Chicken noodle soup
- Chicken and dumplings
- Creamy chicken pasta
Both sizes are useful, so I like having a mixture on my pantry shelves.
What Can You Make With Canned Chicken?
This is where all that preparation really pays off!
Because the chicken is already cooked, I can open a jar and add it to so many of our favorite meals.
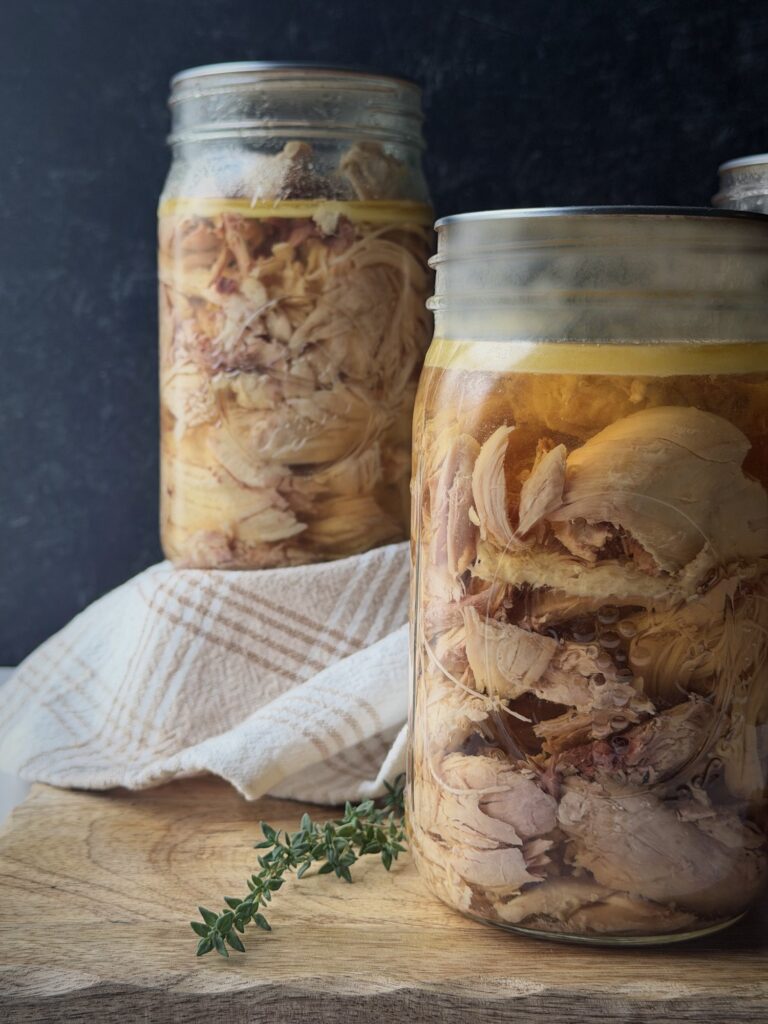
A few ideas include:
Chicken Pot Pie
Combine chicken with vegetables and a creamy filling, then top with a homemade pie crust.
Creamy Chicken Casseroles
Use canned chicken along with rice, pasta, vegetables, and my homemade cream-of soup base.
Chicken Salad
Drain the chicken, break it into smaller pieces, and mix with your favorite chicken salad ingredients.
Chicken Noodle Soup
Add the chicken to broth with vegetables and noodles for a quick homemade soup.
Chicken Quesadillas
Use the chicken with shredded cheese and your favorite seasonings for an easy lunch.
For an added safety precaution, follow USDA guidance to boil home-canned low-acid foods before tasting or eating: 10 minutes at elevations below 1,000 feet, adding one minute for each additional 1,000 feet. Boiling does not make improperly processed or spoiled food safe.
Frequently Asked Questions
Can you pressure can fully cooked chicken?
Oregon State University Extension has stated that using already-cooked chicken is not inherently a safety issue, although it may become drier or tougher during processing.
The USDA’s published hot-pack method specifies cooking chicken approximately two-thirds done. That remains the documented, research-tested preparation.
I personally prefer cooking my chicken first and leaving it in larger pieces.
How long do you pressure can boneless chicken?
The USDA-tested schedule for boneless chicken is 75 minutes for pints and 90 minutes for quarts, with the pressure adjusted according to elevation and canner type.
These times apply to the specified tested preparation method.
How much chicken fits in a pint jar?
I use approximately one pound per pint as a rough planning estimate. The actual weight depends on the size of the pieces and the amount of broth needed.
Can you pressure can chicken without broth?
Yes. The USDA-tested raw-pack method does not call for added liquid.
However, I prefer the appearance and quality of chicken packed with broth.
Can I use an Instant Pot to pressure can chicken?
No. I use my Instant Pot to cook chicken, not to pressure can it.
Low-acid foods like chicken must be preserved in a suitable pressure canner using validated processing instructions.
Do I have to add salt?
No. Salt is optional when canning plain chicken and is only used for flavor.
How long does canned chicken last?
For best quality, plan to use properly processed and stored home-canned chicken within one year.
My Favorite Canning Resources
If you’re interested in getting started with pressure canning or expanding your pantry, I’ve put together a collection of the tools and supplies I find useful.
Visit my Canning Resources page for more information about canners, jars, lids, and helpful canning equipment.
For research-tested preservation instructions, I also recommend the National Center for Home Food Preservation and your local Cooperative Extension office.
A Few Things I Use
- Instant Pot — what I use to cook the chicken from frozen and make the broth at the same time.
- Presto Digital Pressure Canner (17-quart) — I own the 12-quart Presto Precise, but I’d recommend the 17-quart for more flexibility with other canning options.
- All-American Pressure Canner (25-quart) — a conventional stovetop pressure canner. Mine is an older, larger model; for most home canners, I’d suggest the 25-quart.
- Canning funnel — for filling the jars.
- Headspace tool — for measuring headspace.
- Ball jar lifter — the spring-loaded jar lifter I prefer.
- ForJars canning lids — regular mouth and wide mouth.
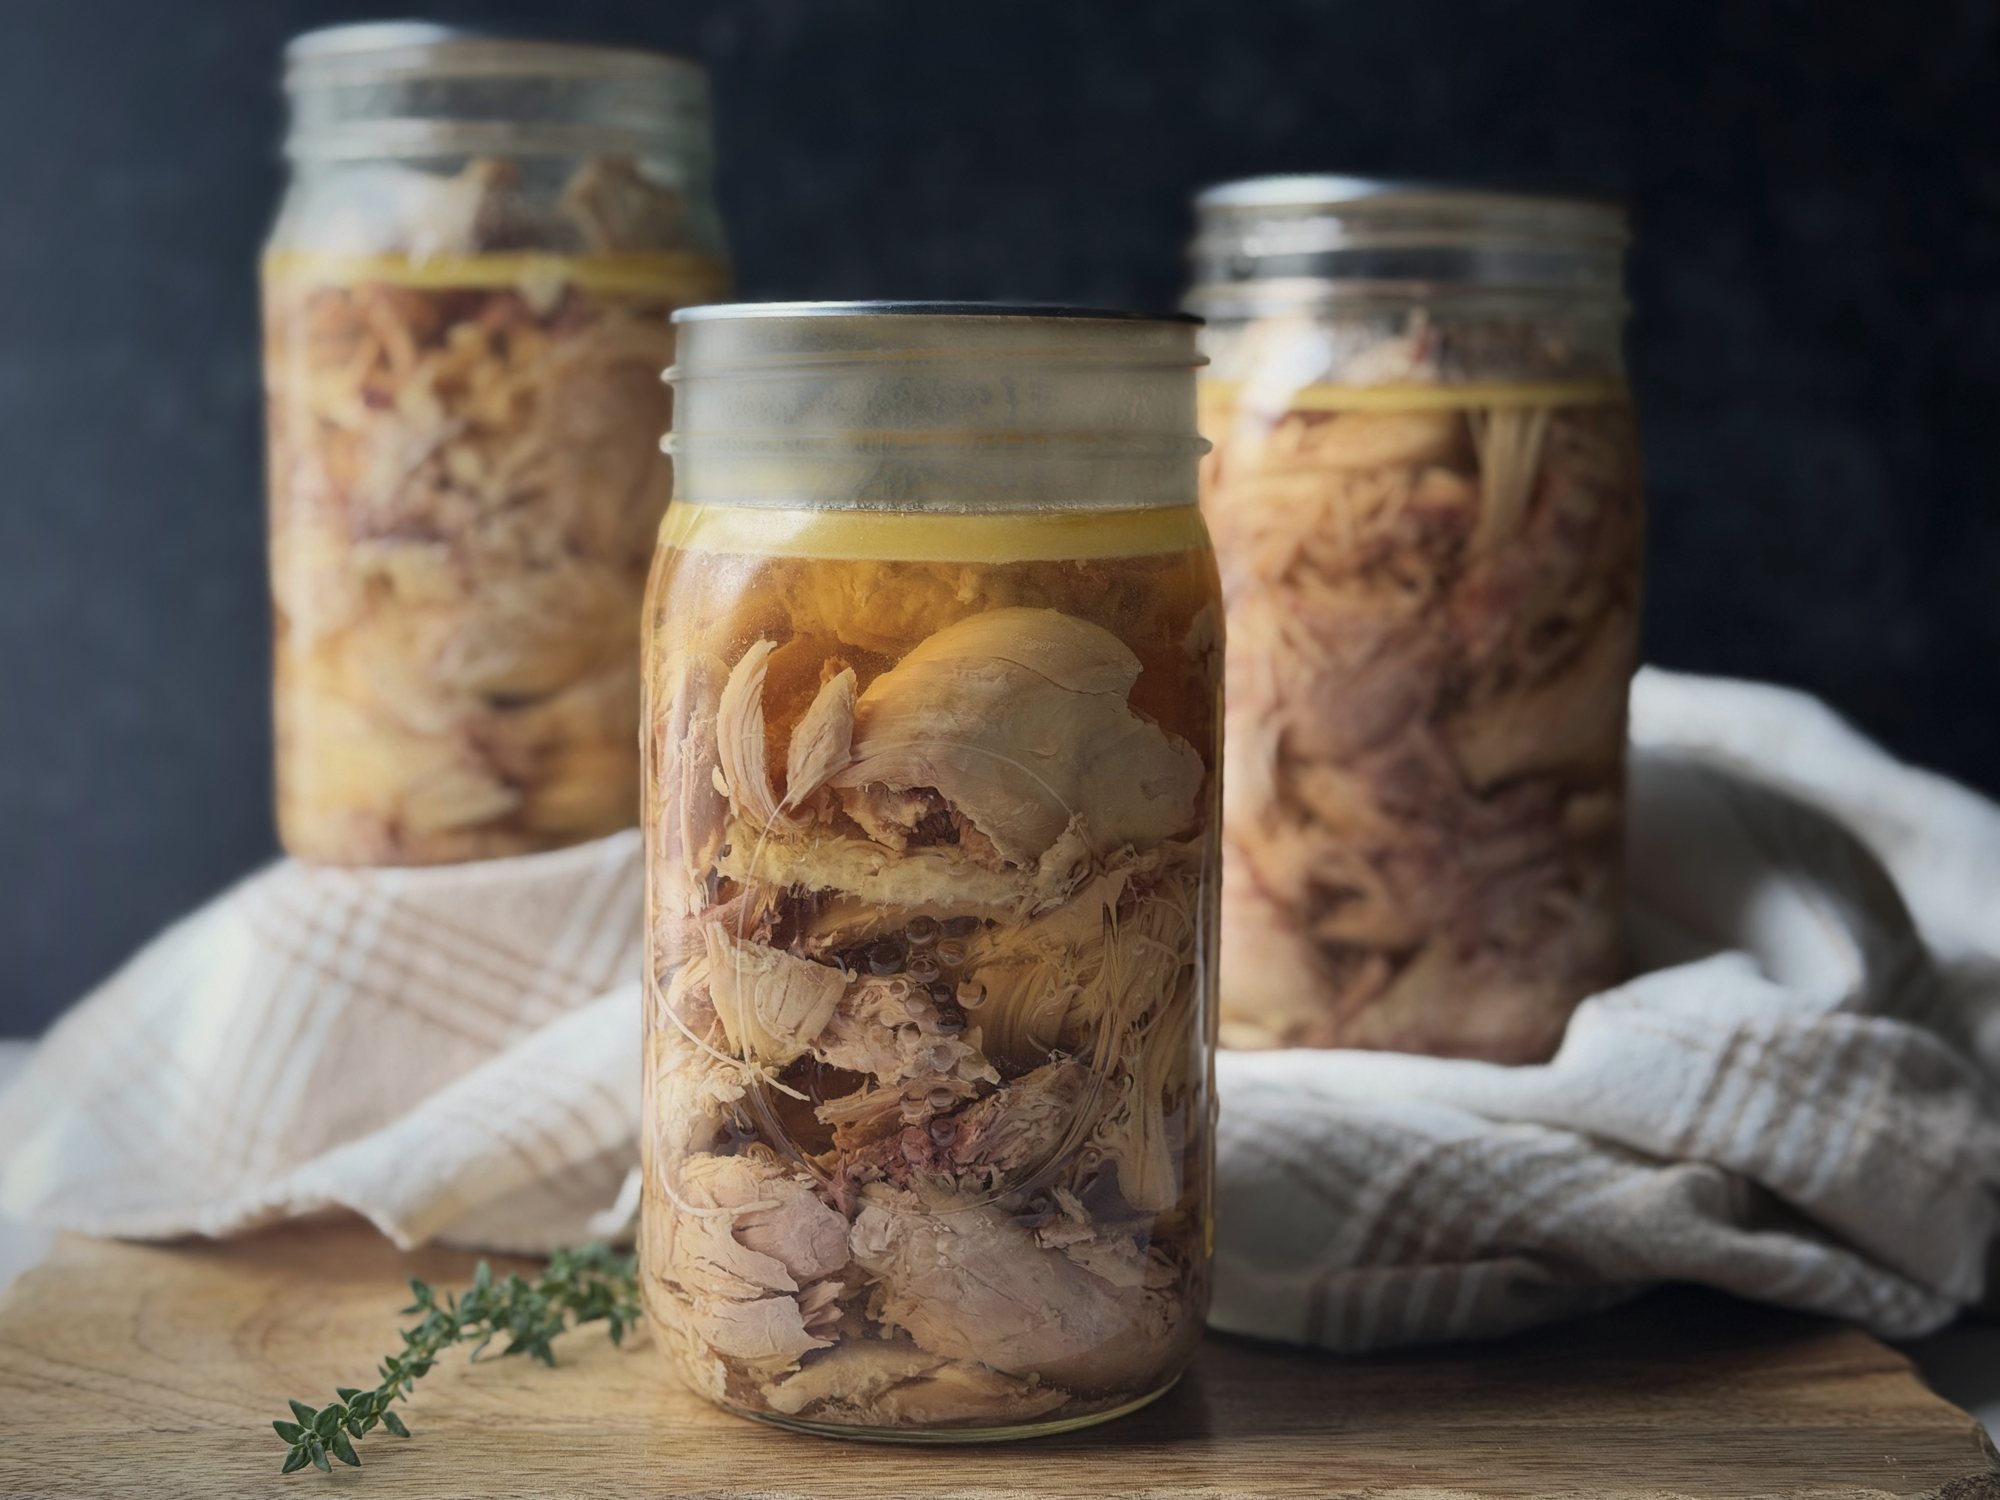
How to Can Chicken at Home
Ingredients
Equipment
Method
- Cook the chicken. Add the chicken (I start with frozen) and the appropriate amount of water for your Instant Pot, then pressure cook until the meat is fully cooked and tender. The exact cooking time depends on the size and cut of chicken, whether it’s frozen, and your Instant Pot model. Chicken should reach a safe internal temperature of 165°F. To follow the USDA’s published tested hot-pack preparation exactly, safely thaw the chicken first, then boil, steam, or bake until approximately two-thirds done.
- Remove the chicken from the bones. Once the chicken is cool enough to handle safely, pull it apart into larger pieces rather than finely shredding it. Remove all bones, cartilage, and excess fat.
- Prepare the broth. Strain the cooking liquid to remove bones and other solids, and skim off excess fat. Keep the broth hot. The chicken pieces and broth should be hot when the jars are filled.
- Prepare the jars. Inspect the jars for chips or cracks, paying particular attention to the rims. Wash in hot, soapy water, rinse thoroughly, and keep them hot until you’re ready to fill them. Prepare new flat lids according to the manufacturer’s instructions.
- Fill the jars. Place the hot chicken pieces into the jars using a canning funnel. Don’t mash or tightly compress the meat. If desired, add canning salt: ½ teaspoon per pint or 1 teaspoon per quart. Pour hot chicken broth over the chicken, leaving 1¼ inches of headspace.
- Remove air bubbles. Run a bubble-removing tool gently around the inside of each jar. Measure the headspace again and adjust the broth if necessary to keep 1¼ inches of headspace.
- Wipe the rims and add the lids. Wipe the rim of each jar thoroughly with a clean, damp paper towel. Center a new flat lid on the jar, add the ring, and tighten to fingertip-tight, following your lid manufacturer’s instructions. Do not overtighten.
- Load the canner. Place the jars on the canner rack and add the amount of water specified by the manufacturer, generally 2–3 inches for a conventional stovetop pressure canner. Secure the lid and heat the canner.
- Vent and pressurize. Allow steam to vent continuously for 10 minutes, then bring the canner to the correct pressure for your elevation (see notes).
- Process. Begin timing only when the correct pressure has been reached. Process boneless pints for 75 minutes or boneless quarts for 90 minutes. Maintain the required pressure throughout. If pressure drops below the required level, return to the correct pressure and restart the entire processing time.
- Depressurize. Turn off the heat and allow the canner to depressurize naturally. Once fully depressurized, remove the weight or open the vent, wait 10 minutes, then carefully open the lid away from your face.
- Cool. Remove the jars with a jar lifter, keeping them upright, and place them on a towel or cooling rack. Let them cool undisturbed for 12–24 hours. Avoid touching or tightening the rings while the jars cool.
- Check and store. After 12–24 hours, remove the rings, check that each lid has sealed properly, wash and dry the jars, and label each jar with the contents and date. Store in a cool, dark, dry location. If a jar doesn’t seal, refrigerate it promptly or follow USDA-approved reprocessing instructions.
Notes
Make Your Pantry Work for You
For me, canning chicken is about making everyday cooking easier.
When I have a shelf stocked with chicken, homemade seasonings, and other pantry staples, I have so many possibilities for dinner without having to start from scratch.
It’s one of those little things that makes a big difference when you’re feeding a family.
And once you’ve had delicious homemade canned chicken ready to use whenever you need it, you’ll understand why it’s one of my favorite meal-planning hacks!
More Pantry to Plate Recipes
- Homemade Chicken Bouillon Powder
- Homemade Cream of Soup Mix: One Base for Chicken, Mushroom & Celery
- Canning Tools That Actually Make Canning Easier
- How to Build a Bulk Pantry on a Budget Without Wasting Food
Your Pantry Can Do More.
Food safety disclosure: My fully cooked chicken preparation is a personal preference. The USDA’s published tested hot-pack method specifies cooking chicken approximately two-thirds done. Always follow current research-based pressure-canning guidelines and the instructions for your specific canner.