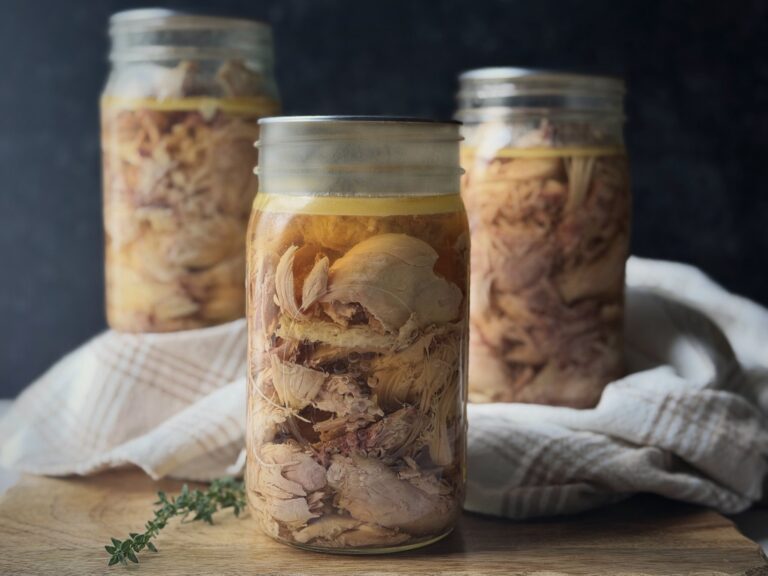
Easy Homemade Chili with Ground Beef and Beans
This post may contain affiliate links, which means I may earn a small commission at no additional cost to you. As an Amazon Associate I earn from qualifying purchases.
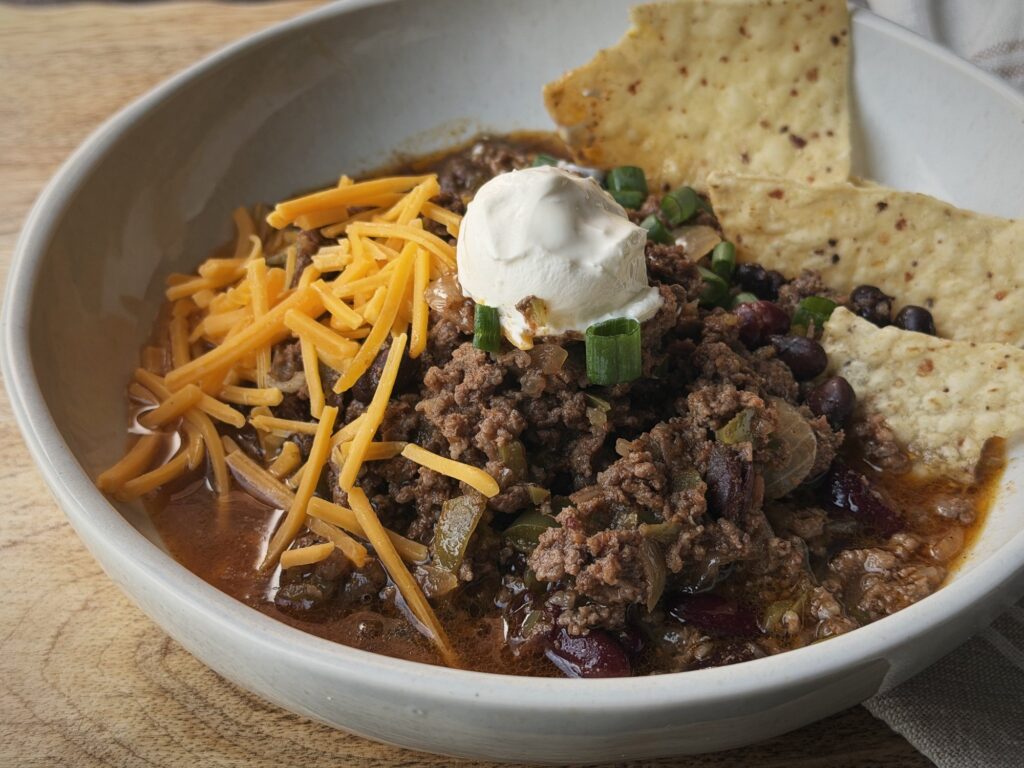
There’s something about a big pot of homemade chili that makes everyone happy, especially when the weather turns cooler! This easy homemade chili is one of our family’s favorite dinners, made with simple pantry staples, ground meat, beans, and my homemade chili seasoning mix.
One of my favorite things about this recipe is how easily it comes together using ingredients I already have on hand. I keep pre-chopped peppers and onions in the freezer, can my own tomato sauce and beans, and make my chili seasoning in bulk. That means I can have a hearty, homemade meal on the table with very little preparation.
It’s also a wonderfully flexible recipe. Whether you’re using ground beef, venison, different varieties of beans, or making adjustments for picky eaters, this chili is easy to make your own.
Why You’ll Love This Homemade Chili
- Simple pantry ingredients: Most of the ingredients can be kept in the pantry or freezer, making this a convenient dinner without a special grocery trip.
- Perfect for feeding a family: With 3 pounds of ground meat and plenty of beans, this recipe makes a hearty pot of chili.
- Easy to customize: Use your favorite ground meat, beans, and tomato products.
- Great for picky eaters: A couple of easy substitutions can help make this meal more appealing to children.
- Minimal prep work: Pre-chopped frozen vegetables make this recipe especially convenient.
- Delicious leftovers: Chili is one of those meals that tastes wonderful the next day as the flavors continue to develop.
Ingredients for Homemade Chili
You only need a handful of simple ingredients to make this family favorite.
- 3 pounds ground meat: I typically use 2 pounds of ground beef and 1 pound of ground venison, but you can use all ground beef or your preferred combination.
- 6 tablespoons homemade chili seasoning: My homemade chili seasoning mix adds all the flavor without needing to measure out several individual spices every time I make chili.
- 1 package pre-chopped frozen peppers and onions: I freeze these ahead of time to make dinner preparation faster. If you’re starting with fresh vegetables, substitute 1 large bell pepper and 1 small onion, both chopped.
- 2 cans beans: Use whichever beans you have on hand! Kidney beans, black beans, and pinto beans all work well.
- 4 cups home-canned tomato sauce: I use my home-canned tomato sauce because my kids don’t particularly enjoy seeing chunks of tomatoes in their chili. If your family prefers a chunkier texture, substitute 2 cans of diced tomatoes.
How to Make Homemade Chili
Step 1: Brown the Ground Meat
In a large Dutch oven or heavy-bottomed pot over medium heat, begin browning the ground meat, breaking it into smaller pieces as it cooks.
I typically use a mixture of ground beef and venison. It’s a wonderful way to incorporate the venison we have in our freezer, but all ground beef works just as well.
Step 2: Add the Chili Seasoning
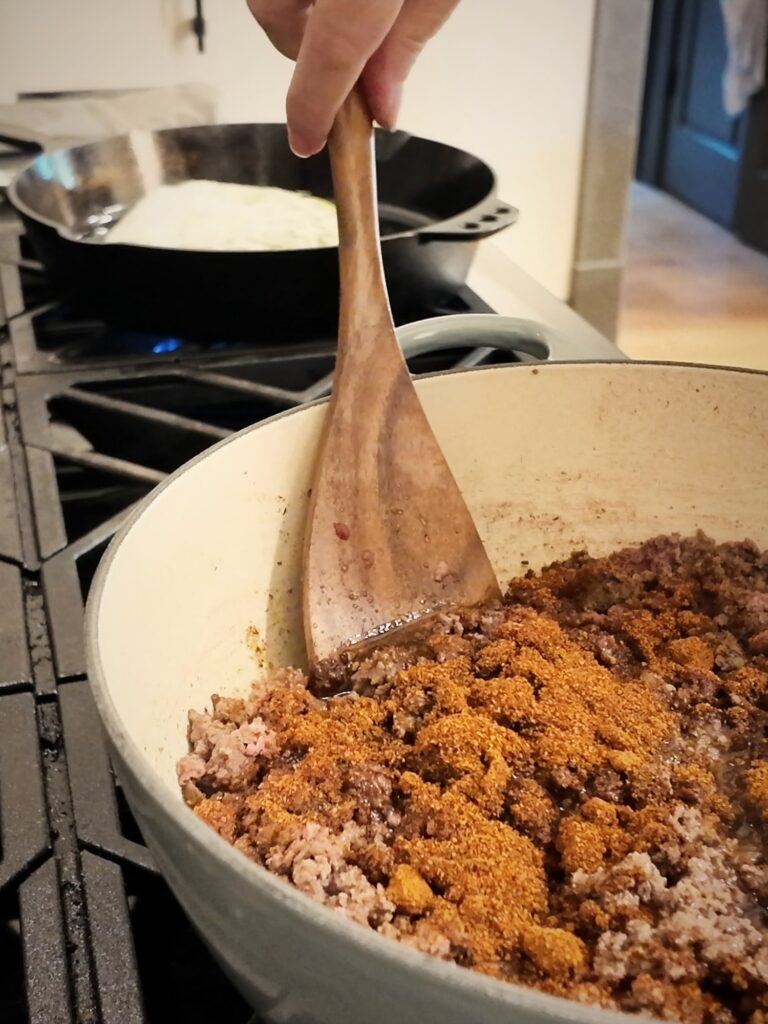
Once the meat has started browning, add 6 tablespoons of homemade chili seasoning.
Stir thoroughly to distribute the seasoning throughout the meat.
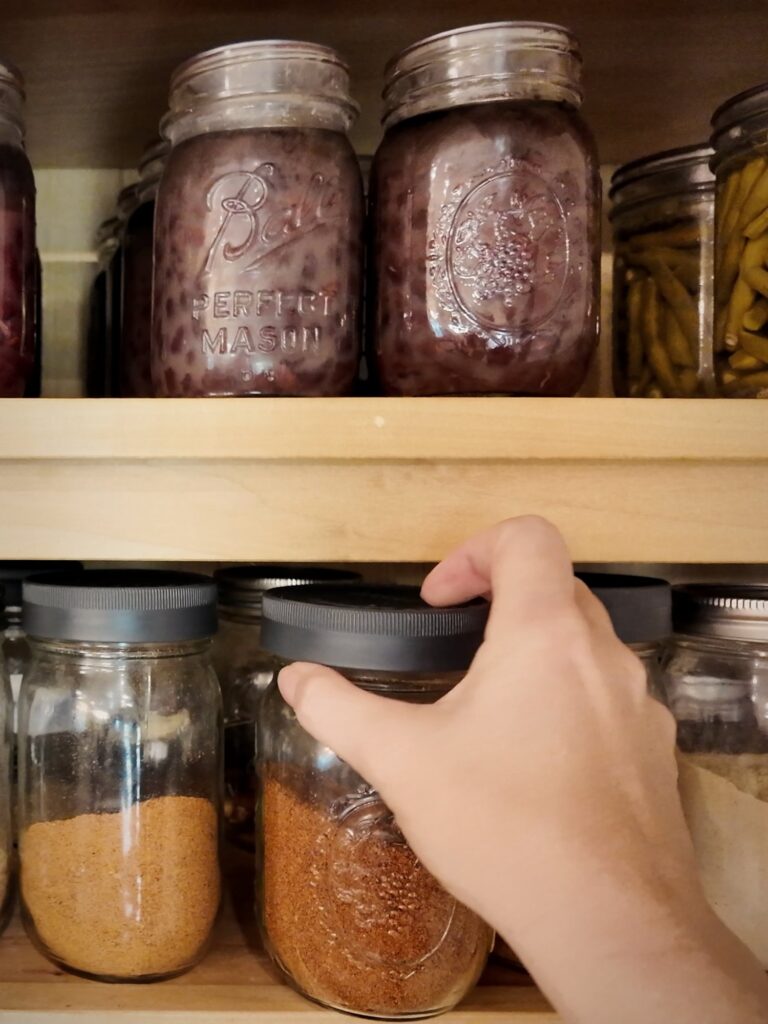
Using a homemade seasoning mix makes this step incredibly simple, especially when you already have a jar prepared in your pantry.
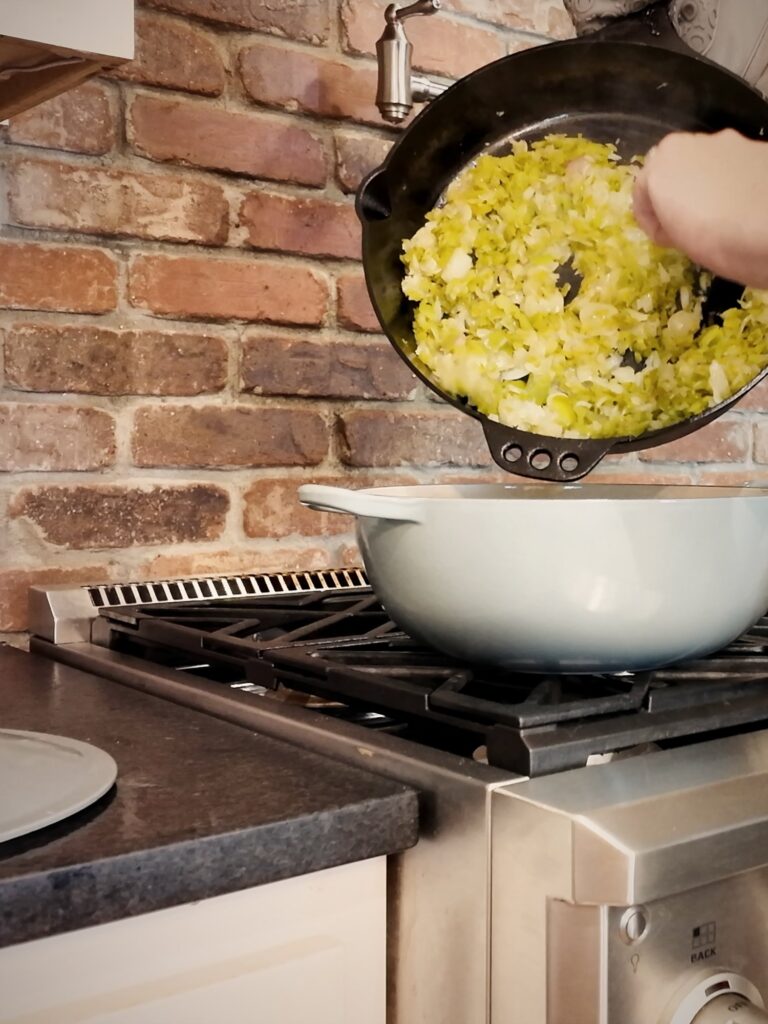
Step 3: Add the Peppers and Onions
Add your pre-chopped peppers and onions to the pot.
Continue cooking, stirring occasionally, until the vegetables have softened and the meat is fully browned and cooked through.
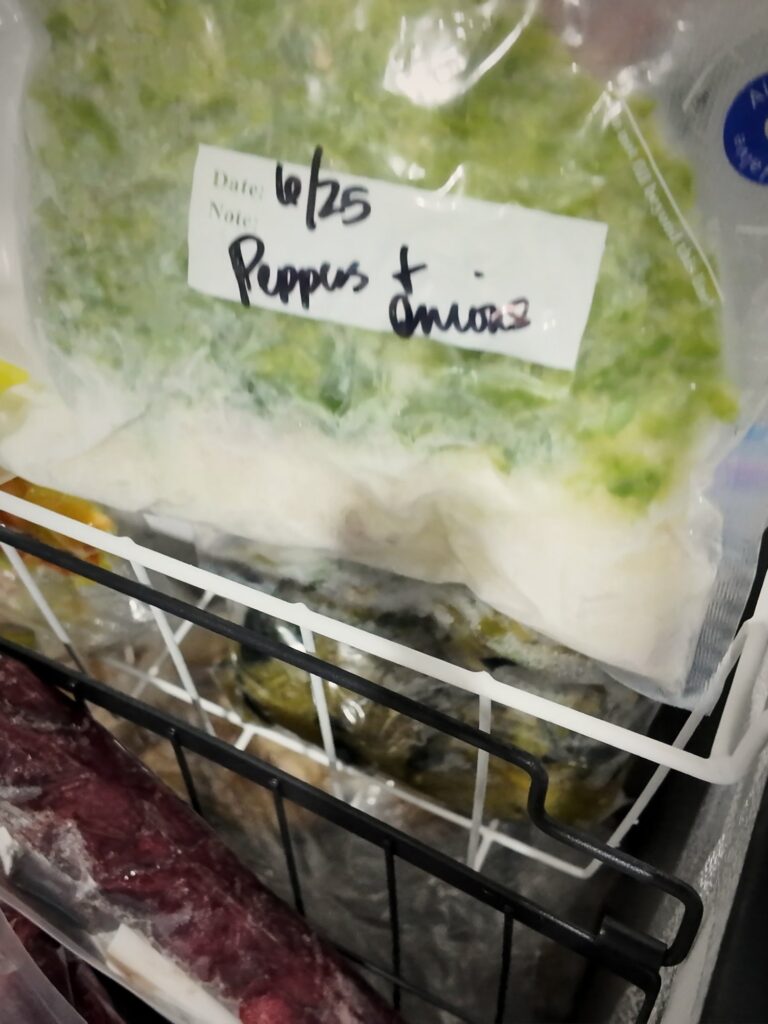
One of my favorite kitchen shortcuts is keeping bags of pre-chopped peppers and onions in the freezer. When we harvest vegetables from the garden, I chop and portion them so they’re ready for meals throughout the year.
It’s a small bit of preparation that saves a tremendous amount of time when making dinner!
Step 4: Add the Beans and Tomato Sauce
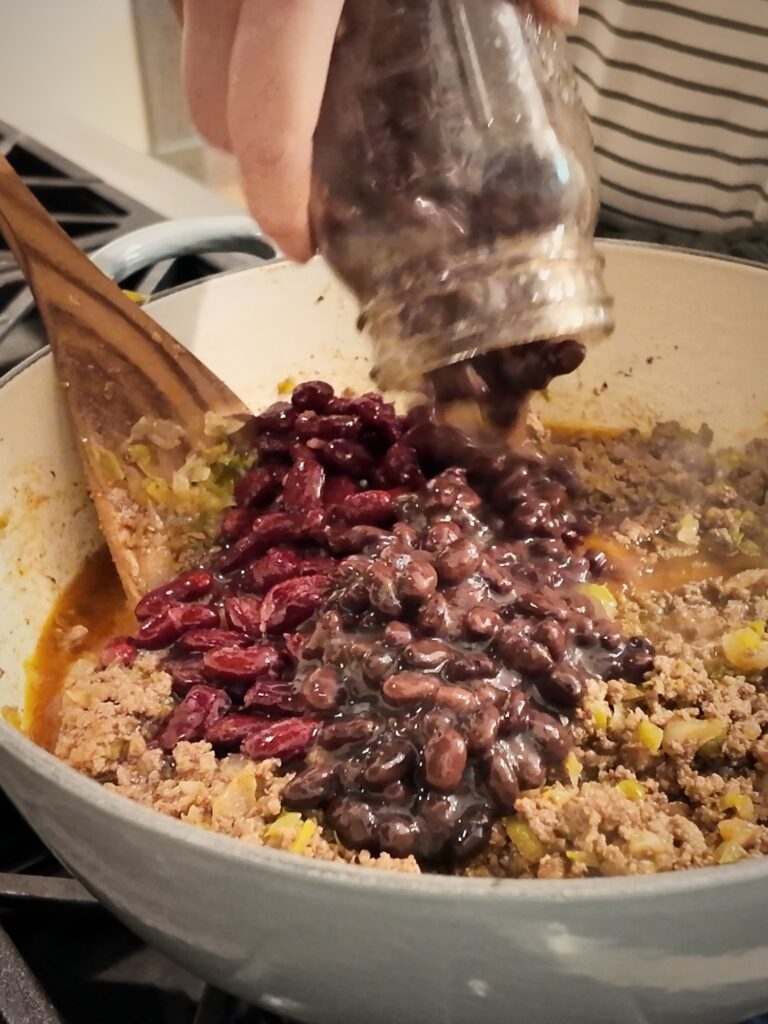
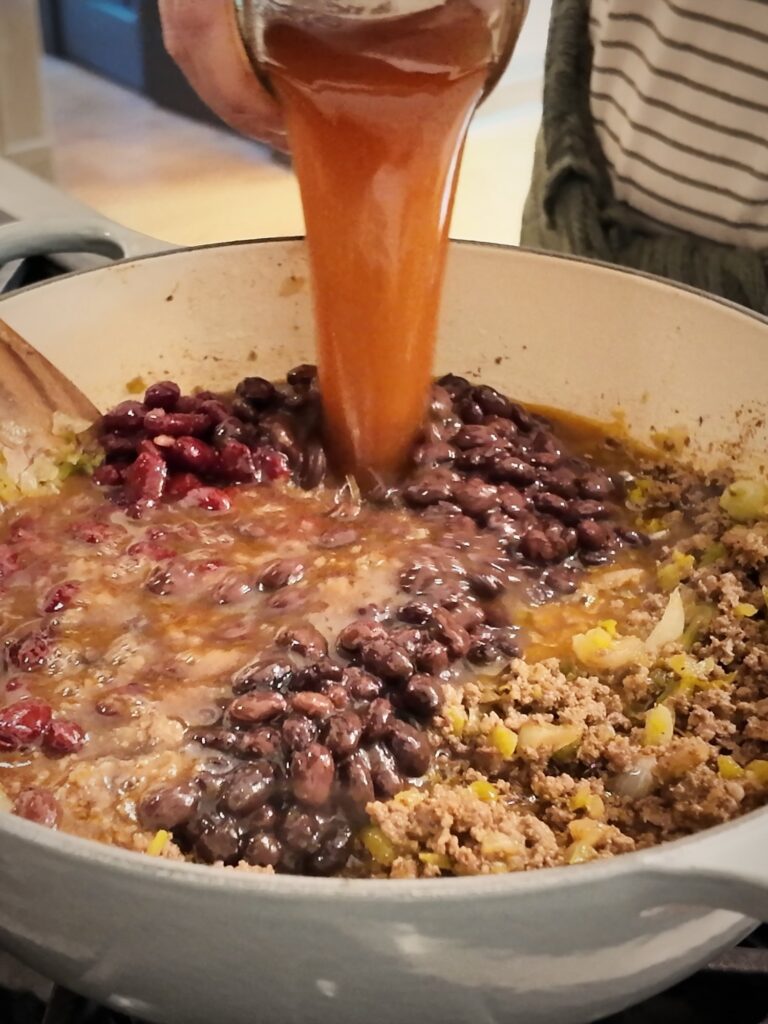
Add the beans (undrained) and tomato sauce to the pot, stirring until everything is thoroughly combined.
I generally use whichever beans I have available in the pantry. There’s no need to buy a specific variety for this recipe.
Step 5: Simmer for the Best Flavor
Reduce the heat to low and allow the chili to simmer gently for approximately 30 minutes, stirring occasionally.
This gives the seasoning time to blend with the meat, vegetables, beans, and tomato sauce, creating a richer, more developed flavor.
Short on time? You can absolutely serve this chili as soon as everything is heated through and the meat is fully cooked. The additional simmering time improves the flavor, but it isn’t necessary when you need a quick dinner.
My Favorite Tips for Making Chili for Picky Eaters
One thing I’ve learned from cooking for a large family is that sometimes it’s the appearance or texture of an ingredient, rather than its flavor, that children don’t enjoy.
Fortunately, chili is one of the easiest meals to adjust!
Use Tomato Sauce Instead of Diced Tomatoes
My kids don’t particularly like seeing chunks of tomatoes in their chili.
For that reason, I use 4 cups of my home-canned tomato sauce instead of diced tomatoes.
The sauce provides wonderful tomato flavor without the noticeable pieces of tomato.
If your family enjoys chunky tomatoes, feel free to use 2 cans of diced tomatoes instead. Both versions work beautifully!
Use Refried Beans Instead of Whole Beans
Here’s another trick that’s especially helpful if you have children who aren’t fans of beans.
Substitute refried beans for whole beans!
Refried beans blend into the chili, making them far less noticeable while also helping thicken the finished dish.
They’re also a great way to incorporate the protein and fiber from beans without having individual beans visible throughout the chili.
You may need to add a little water if the chili becomes thicker than you prefer.
It’s an easy substitution that can make all the difference for picky eaters.
The Best Toppings for Homemade Chili
Everyone in our family has their own favorite way to enjoy chili!
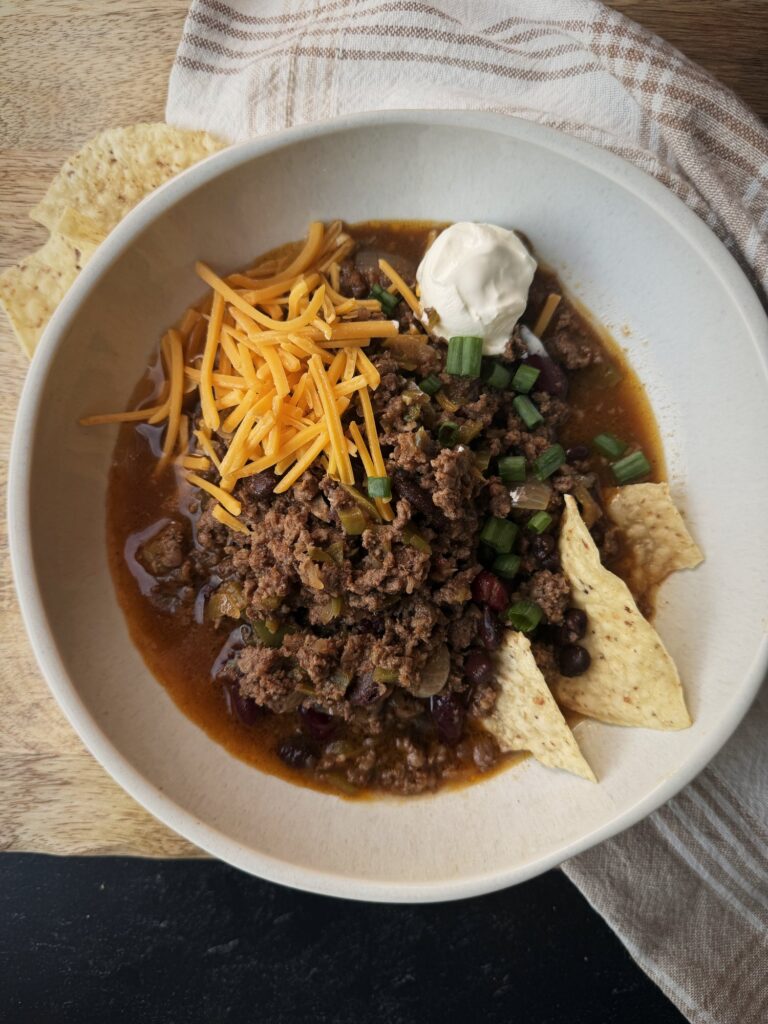
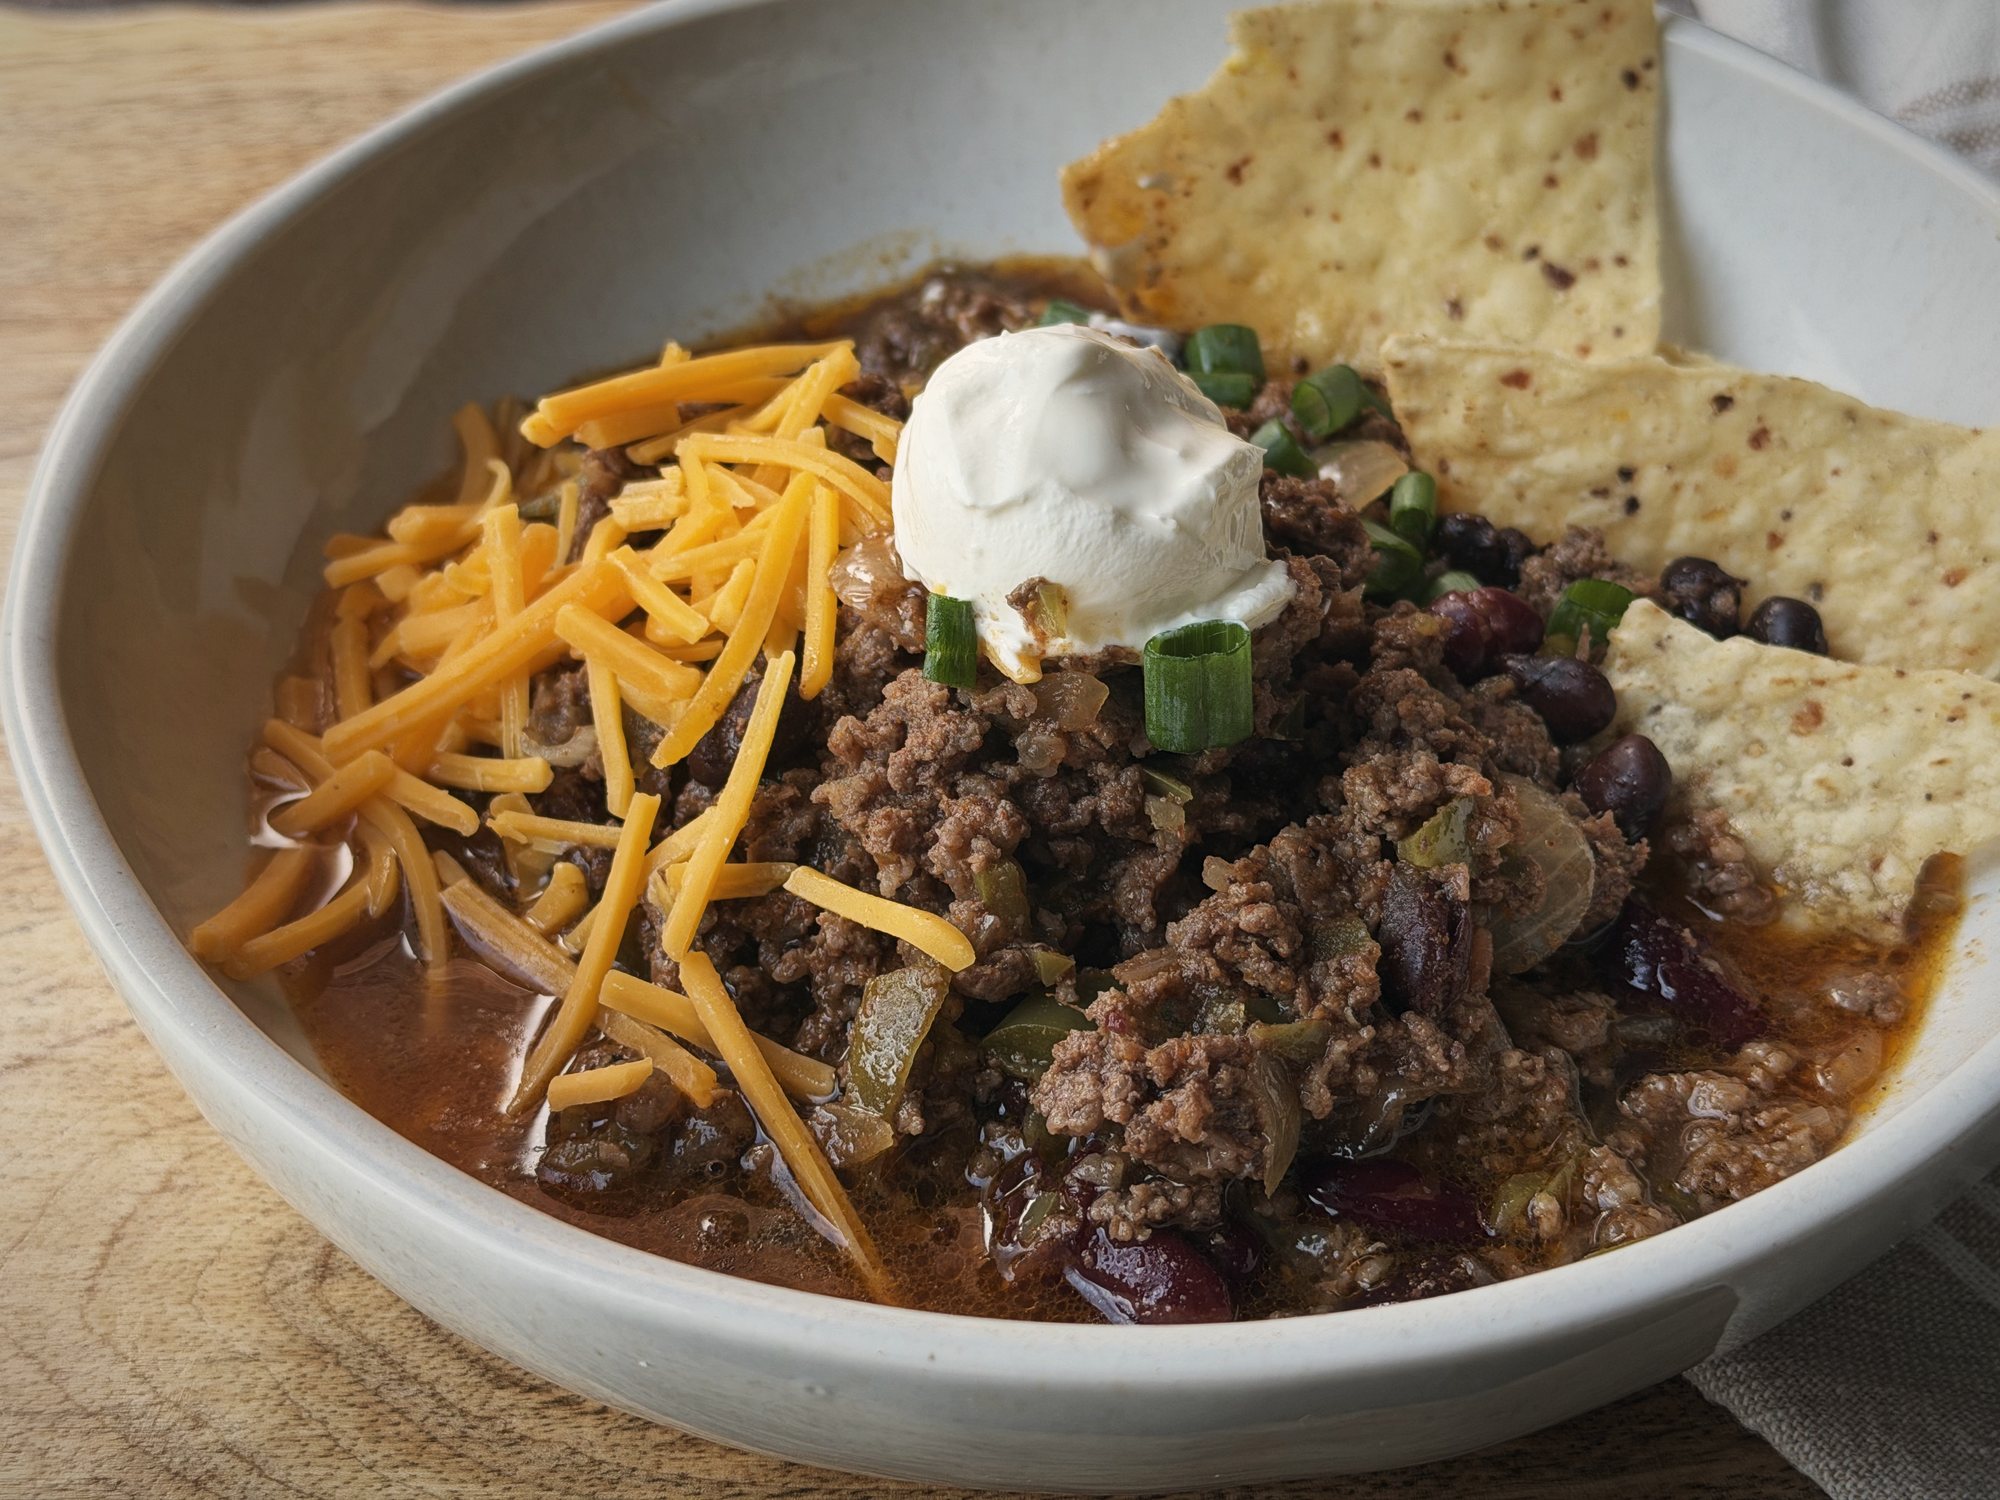
Some love a generous handful of shredded cheddar cheese and a dollop of sour cream, while others prefer a splash of vinegar stirred into their bowl.
A few of our favorite toppings include:
- Freshly shredded cheddar cheese
- Sour cream
- Crushed tortilla chips
- Sliced green onions
- A splash of vinegar for extra tang
You can also serve chili with warm homemade cornbread, crackers, or a slice of fresh sourdough bread.
I love putting the toppings on the table and allowing everyone to finish their own bowl just the way they like it.
Make Dinner Easier with Freezer-Ready Vegetables
One of the biggest time-saving habits I’ve developed in our kitchen is preparing ingredients before I need them.
Throughout gardening season, I chop and freeze peppers and onions in portions that are ready for recipes like this homemade chili.
Instead of pulling out a cutting board and chopping vegetables when it’s time to make dinner, I can simply grab a prepared package from the freezer.
This is particularly useful during the colder months, when we’re enjoying the vegetables we harvested earlier in the year.
Even if you don’t grow your own vegetables, purchasing them in bulk and preparing freezer portions ahead of time can make everyday meals much easier.
Can You Freeze Homemade Chili?
Absolutely! Homemade chili is a great meal to prepare ahead of time.
Allow the chili to cool promptly, dividing large batches into shallow containers so they chill quickly. Refrigerate within two hours of cooking.
Transfer cooled chili into freezer-safe containers, leaving a little room for expansion.
For best quality, enjoy frozen chili within 2–3 months.
When you’re ready to serve, thaw it in the refrigerator overnight and reheat until steaming hot throughout, reaching 165°F.
This is a great way to have a homemade dinner ready for a busy evening.
How to Store Leftover Chili
Store leftover chili in an airtight container in the refrigerator for up to 3–4 days.
Reheat individual portions on the stovetop or in the microwave until heated through to 165°F.
Chili often tastes even better the next day, making it a wonderful option for leftovers throughout the week.
A Simple, Hearty Meal for the Whole Family
This homemade chili has become a staple in our kitchen because it’s easy, filling, and made with ingredients we already have available.
I especially love being able to use our home-canned tomato sauce, homemade chili seasoning, and vegetables preserved from the garden.
There’s something incredibly satisfying about pulling together a delicious family dinner using the food you’ve already prepared and stocked in your pantry.
Whether you’re making chili for a busy weeknight, preparing a big pot for the weekend, or stocking your freezer with leftovers, this is a simple recipe worth keeping in your regular rotation.
A Few Things I Use
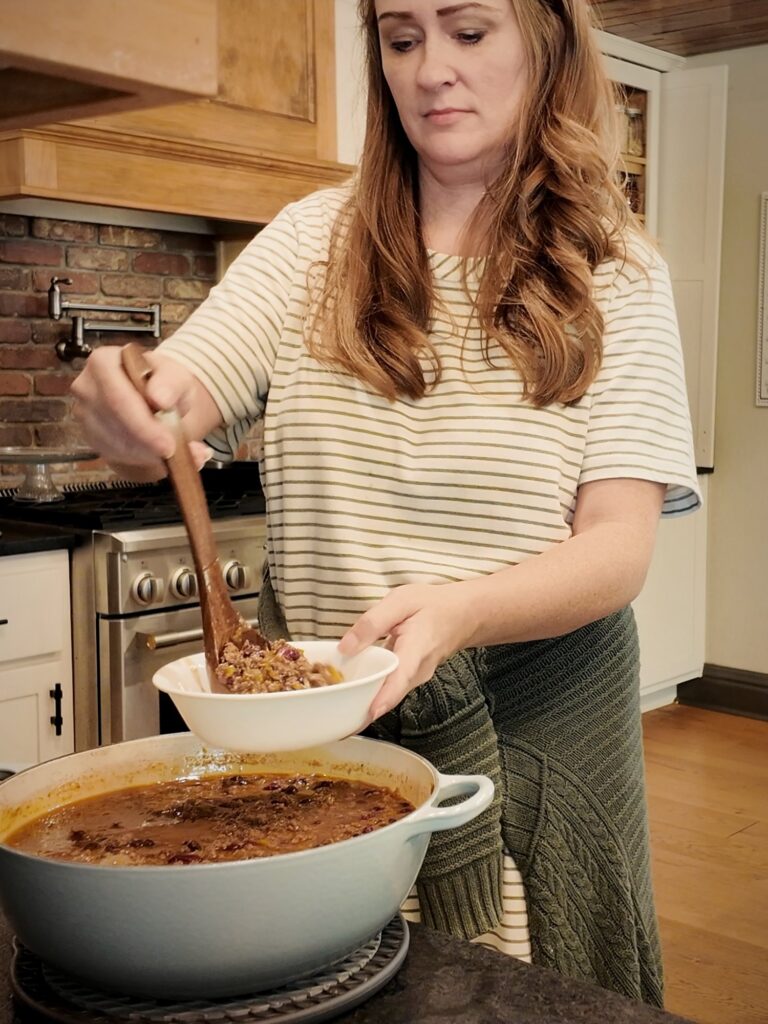
- Dutch oven – a Staub 7-quart round cast iron Dutch oven, roomy enough for a big pot of chili.
- Raw cheddar cheese – a block of white cheddar for shredding fresh.
- Organic sour cream – Nancy’s organic sour cream from Azure Standard.
- Souper Cubes – 1-cup silicone freezer molds with lids, for freezing chili in individual portions.
Easy Homemade Chili
Ingredients
Method
- In a large Dutch oven or heavy-bottomed pot over medium heat, begin browning the ground meat, breaking it into small pieces as it cooks.
- Add the homemade chili seasoning and stir to combine.
- Add the pre-chopped peppers and onions. Continue cooking until the vegetables soften and the meat is fully browned and cooked through.
- Add the beans (undrained) and tomato sauce, stirring thoroughly to combine.
- Reduce the heat to low and simmer gently for approximately 30 minutes, stirring occasionally.
- Serve hot with your favorite toppings.