Homemade All-Butter Pie Crust (Flaky, Rustic & Worth the Effort)
This post may contain affiliate links, which means I may earn a small commission at no additional cost to you. As an Amazon Associate I earn from qualifying purchases.
I wanted one pie crust recipe in my kitchen that I could reach for every time, whether I’m topping a chicken pot pie for dinner or baking an apple pie for the holidays. One master recipe, two crusts, and no second-guessing.
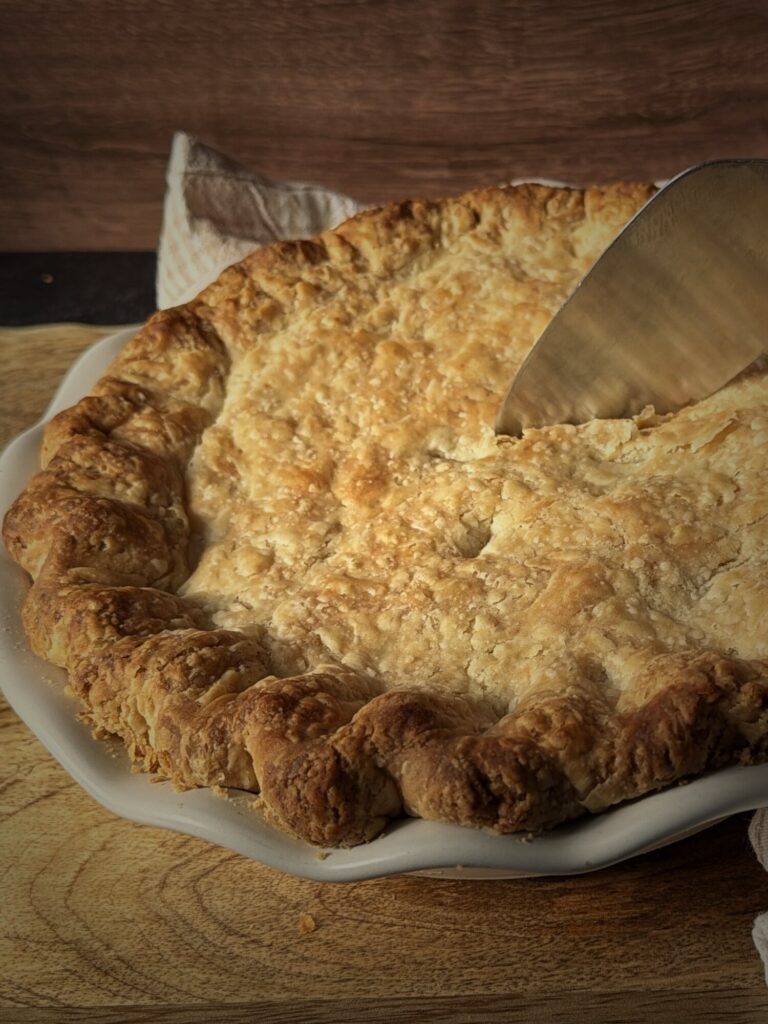
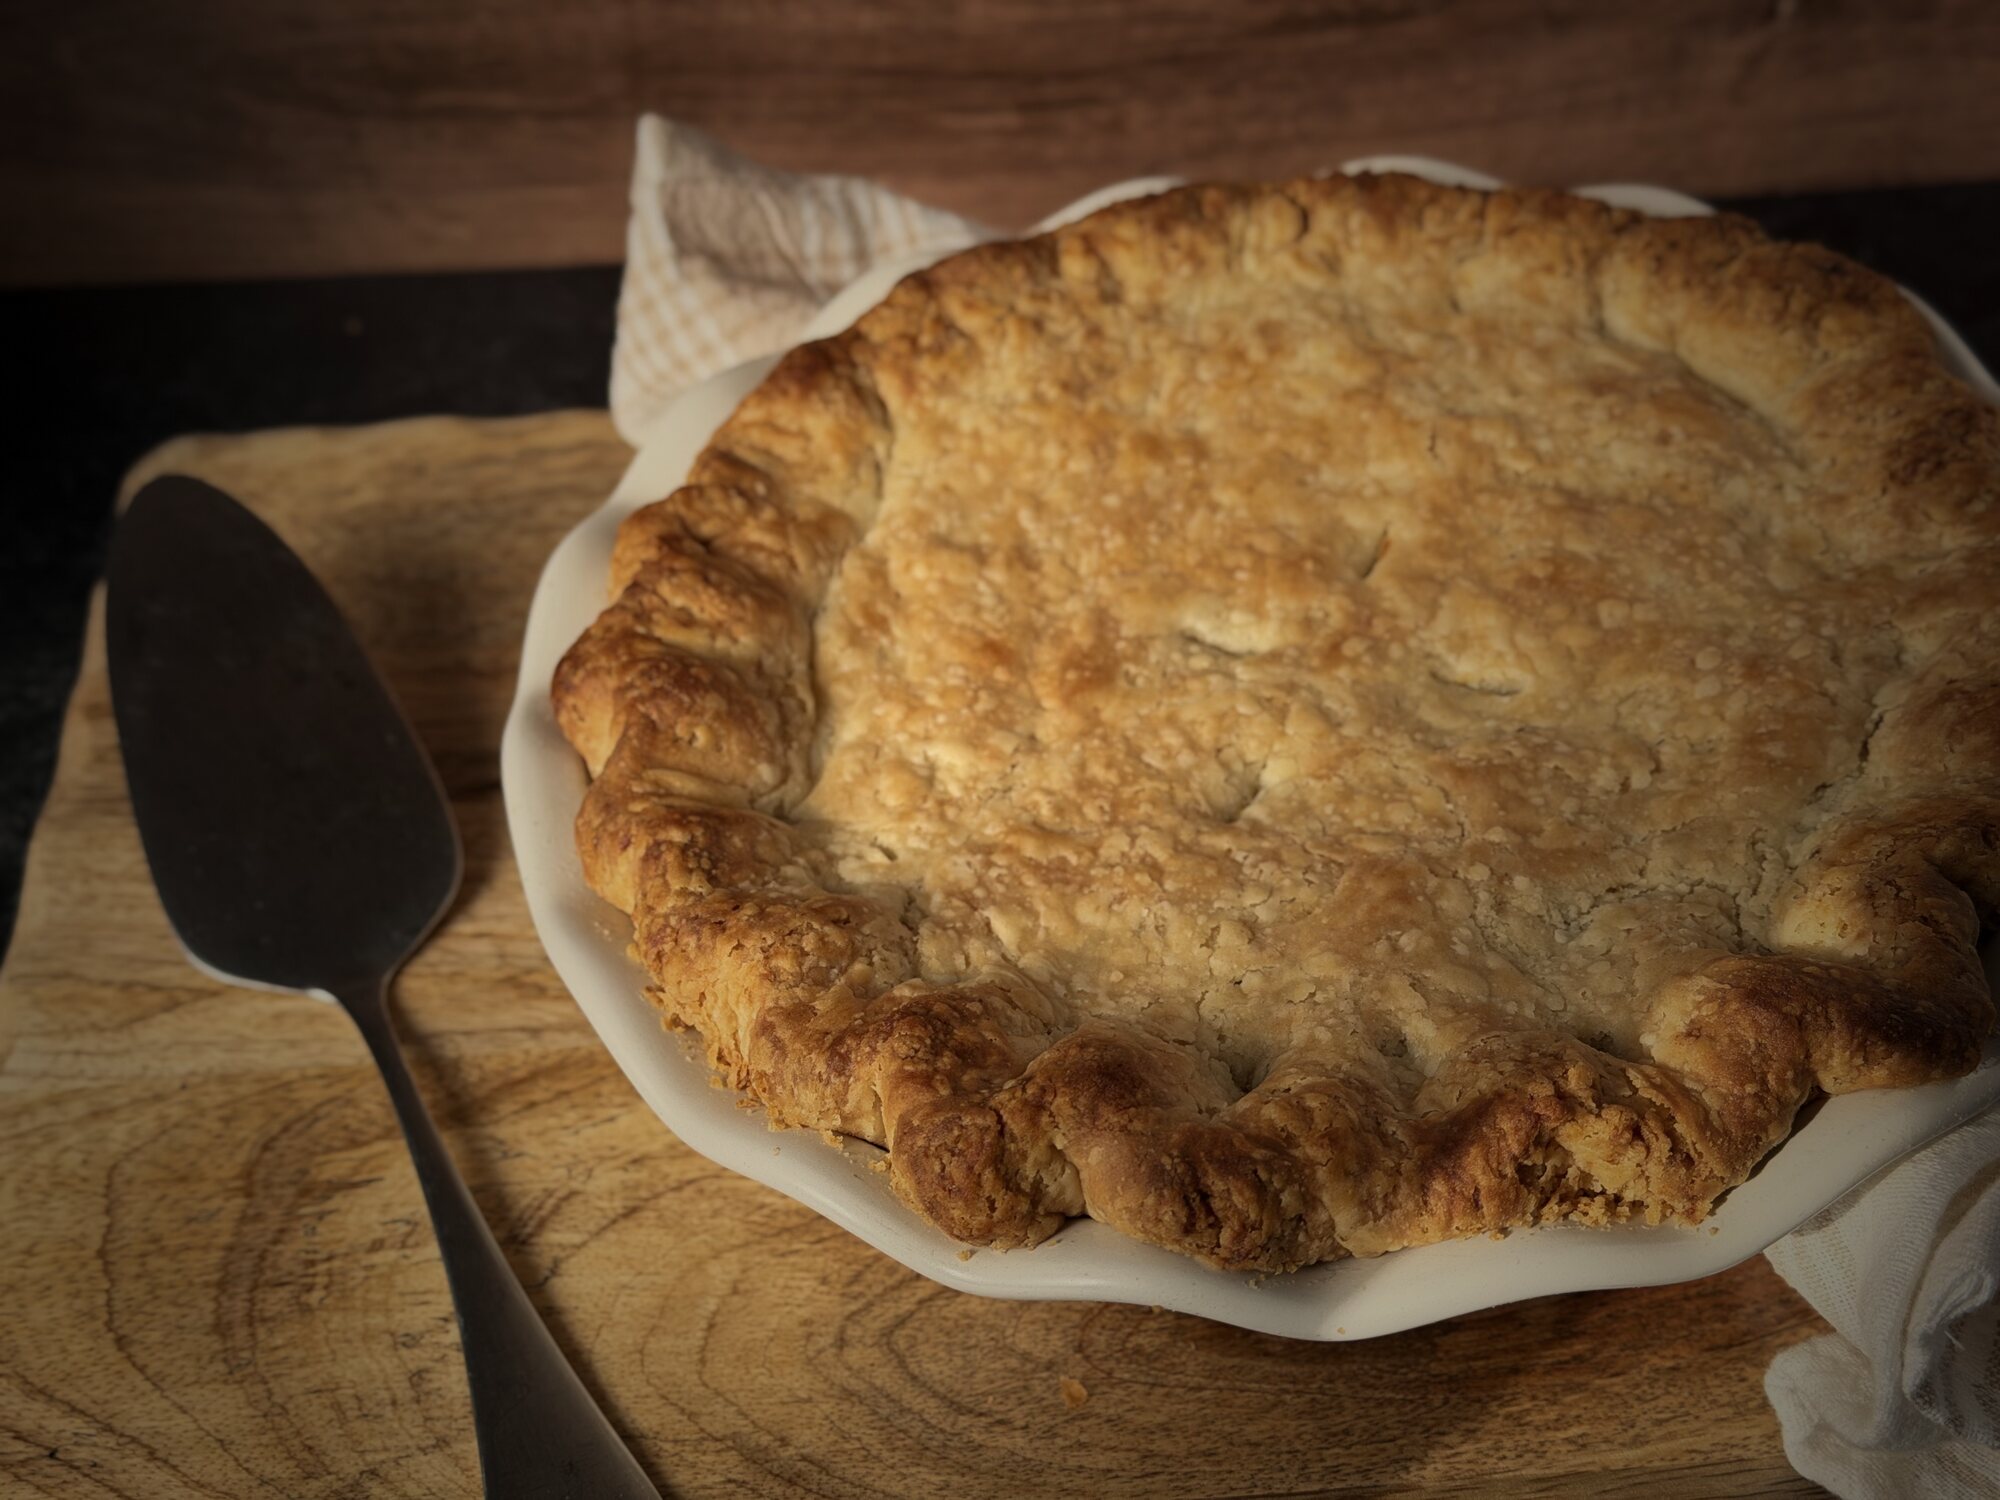
This homemade all-butter pie crust is that recipe. It has wonderful butter flavor, beautiful flaky layers, and a rustic, homemade look that I’ve come to love.
I’ll be honest up front, though: an all-butter crust asks for a little more patience than one made with shortening or lard. It’s less forgiving to roll, shape, and move into the pie plate. But after testing it in my kitchen, I can tell you the finished crust is worth that extra effort.
Why I Wanted One Master Pie Crust
I make plenty of recipes that need a crust: savory dinners like homemade chicken pot pie, plus apple pie, fruit pies, and holiday baking. Instead of hunting down a different recipe every time, I wanted one dependable crust I could make, chill, and use for whatever was on the menu.
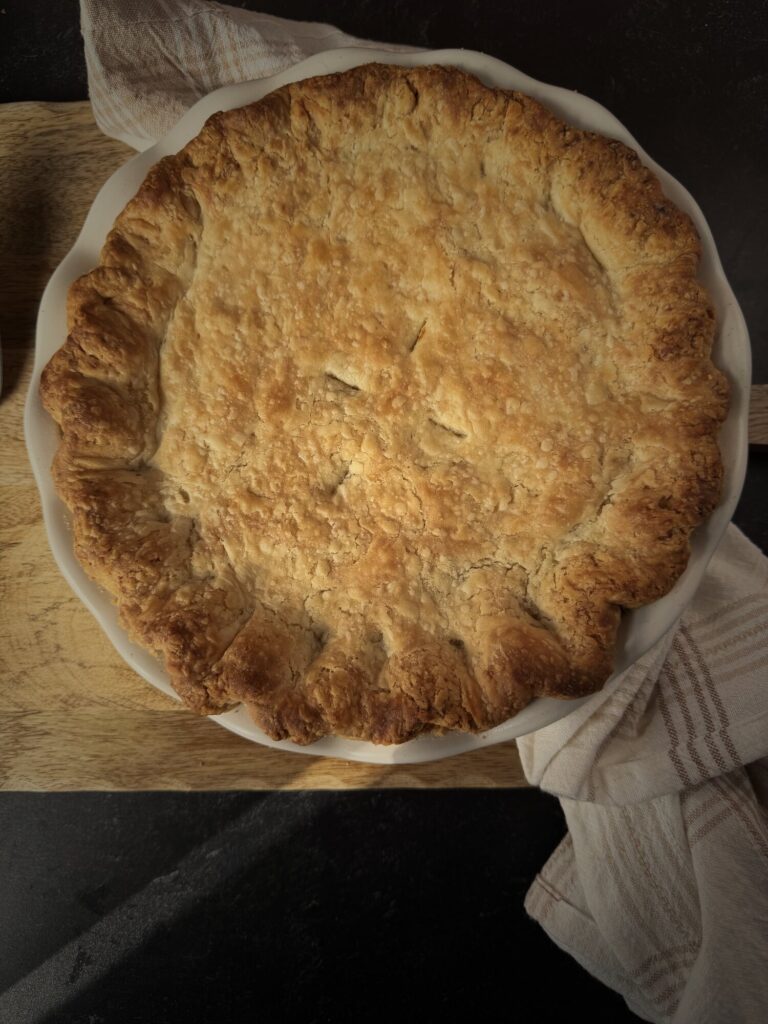
This recipe makes enough for one standard 9-inch double-crust pie, with one crust for the bottom and one for the top. I tested it on a chicken pot pie, and it’s the crust I plan to use for my sweet pies going forward, too, like apple pie with homemade apple pie spice or pumpkin pie with homemade pumpkin pie spice.
Why I Chose an All-Butter Crust
I like cooking with simple, familiar ingredients, and butter is one I always have on hand. I also love the flavor it gives a crust.
Shortening and lard both make good pie crusts, and plenty of bakers swear by them. This recipe simply reflects what I prefer in my own kitchen: a pie crust without shortening, made from flour, butter, a little sugar, salt, and ice water.
One more thing: I used regular unsalted butter from the grocery store, not European-style butter. The crust turned out beautifully with ordinary butter, so there’s no need to buy anything fancy. If you prefer European butter, you’re welcome to use it, but I haven’t compared the two, so I can’t tell you how it would change the result.
Why This Unusual Mixing Method Works
I started with the mixing technique from Cleobuttera’s all-butter pie crust, which uses a method inspired by Cook’s Illustrated. What caught my attention is that it does almost the opposite of what most pie crust recipes tell you to do.
Most recipes have you cut the butter into the flour and stop while there are still pea-sized pieces of butter throughout. This method works in three stages instead:
- Butter paste first. Most of the butter is processed with part of the flour until it becomes a cohesive, paste-like mixture.
- More flour next. The rest of the flour is pulsed in just until the paste breaks back up into crumbly pieces.
- Frozen grated butter last. Shreds of frozen butter are folded in by hand and kept in distinct pieces.
Here’s why that works, in plain terms. Blending most of the butter into part of the flour coats that flour in fat, which helps keep the crust tender. The frozen butter shreds stay separate in the dough, and in the oven those little pieces of butter melt and release steam, leaving thin pockets behind. Those pockets are what give you flaky layers.
From there, I adapted the method through my own testing: how I grate the frozen butter, how much water I add, and how I store the dough. Here’s what I learned.
What I Learned Testing This Recipe
My Food Processor Shortcut Didn’t Work
For my first batch, I tried using the shredding attachment on my food processor to grate the frozen butter. I was already using the food processor to make the dough, so it seemed like an easy way to streamline things.
It didn’t work the way I hoped. The food processor warmed the frozen butter just enough that the shreds started clumping together instead of staying nicely separated. Those distinct butter pieces are a big part of what makes the crust flaky, so clumps weren’t what I wanted.
Hand-Grating Fixed It
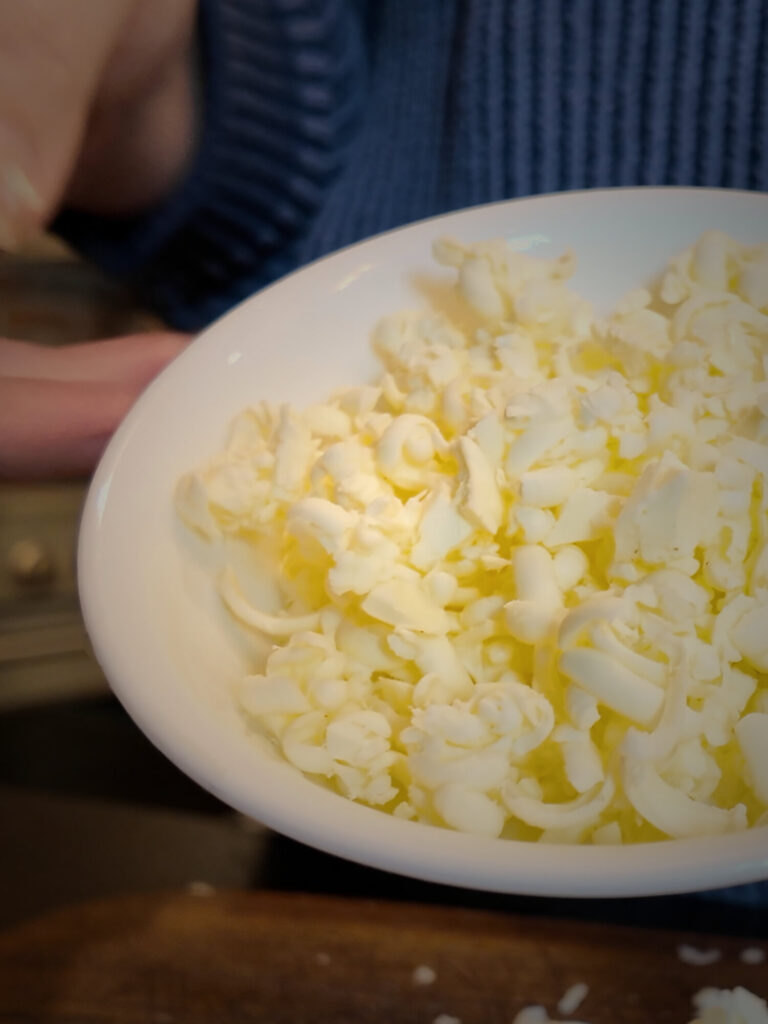
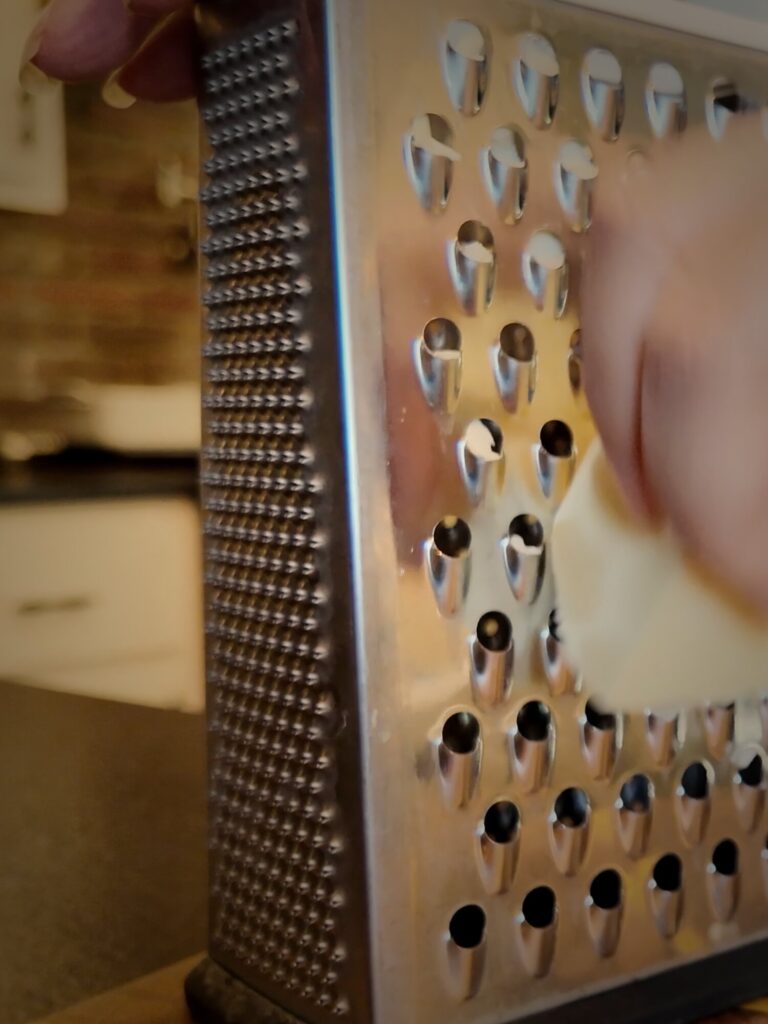
For my second batch, I changed the method. I grated the frozen butter by hand on the large holes of a box grater, then put the shreds right back in the freezer until I was ready to add them. That worked much better.
The food processor still has an important job in this recipe. I use it with the regular metal blade to make the butter paste and pulse in the remaining flour. I just don’t recommend it for shredding the frozen butter.
The Dough Needed a Little More Water
I started with a couple of tablespoons of ice-cold water and added roughly a couple more as I worked the dough. I didn’t measure the total exactly.
What I discovered is that this dough worked better when it was slightly more hydrated than the bare minimum. Stopping at the point where the dough barely held together when squeezed left it less workable than I wanted.
An all-butter crust already lacks some of the flexibility of a shortening- or lard-based crust, so I found that avoiding an overly dry dough was especially important. You’re not after a wet or sticky dough, just one that’s hydrated enough to roll more comfortably.
Cling Wrap Alone Didn’t Protect My Dough Enough
When I refrigerated my dough, I initially used only cling wrap, and it wasn’t as well protected against drying out as I wanted.
So for future batches, my recommendation is to wrap each disk separately in cling wrap, then place both wrapped disks together in one large zip-top bag, press out the extra air, and seal it. The individual wrap keeps the two disks from sticking together inside the bag, and the sealed bag adds another layer of protection against drying out.
That extra protection matters with this crust. All-butter dough already takes some patience to roll and shape, and dough that has started to dry out only makes that harder.
The Trade-Offs of an All-Butter Pie Crust
I want you to know what you’re getting into, so you won’t assume you made a mistake if your dough isn’t perfectly smooth or effortless to roll. Butter behaves differently than shortening or lard, especially when it comes to temperature and flexibility.
What to Expect
- It’s less flexible during rolling and shaping.
- It’s more prone to cracking at the edges.
- It can be a little more difficult to transfer into a pie plate.
- It’s more sensitive to warming up while you work.
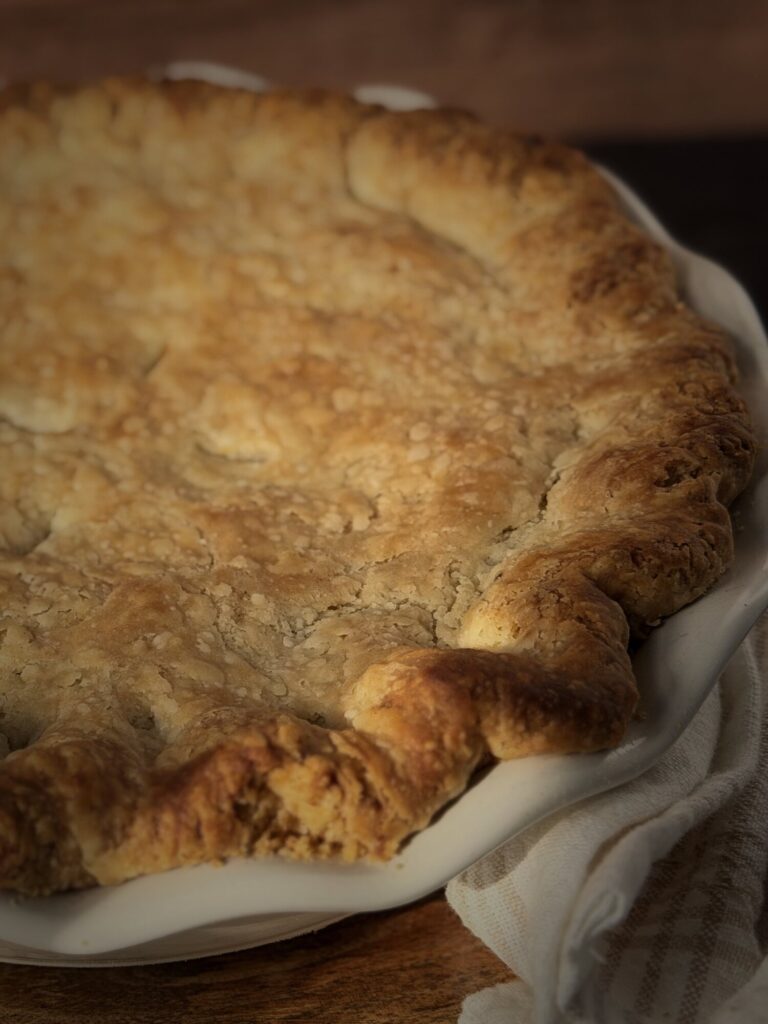
- The finished crust looks somewhat rustic.
Why It’s Worth It
- Wonderful butter flavor.
- Beautiful flaky layers.
- Simple, accessible ingredients.
- A crust that tastes homemade in the best possible way.
- One recipe for both sweet and savory pies.
This isn’t the easiest pie crust in the world, and I won’t pretend it is. I don’t mind the extra patience, though, because the finished crust was so good.
Ingredients
Makes: two crusts for one standard 9-inch double-crust pie.
- 354 g all-purpose flour, divided (212 g + 142 g)
- 284 g regular unsalted butter, divided (228 g cold and cubed + 56 g frozen and grated)
- 4 teaspoons granulated sugar (16 g)
- 1½ teaspoons fine salt (approximately 8 g)
- Ice-cold water, added gradually as needed
Ingredient Notes
Flour. The flour is divided: 212 g goes into the butter paste, and the remaining 142 g is pulsed in afterward. Because the recipe is written in grams, a kitchen scale makes the divided amounts easy to measure. (It’s one of the kitchen tools that make cooking from scratch easier.)
Butter. I used regular American unsalted butter. Of the 284 g total, 228 g is cut into cubes and kept cold for the paste, and 56 g is frozen and grated. If your butter comes in standard 4-ounce sticks, that’s about 2 sticks for the paste and ½ stick for grating.
Sugar and salt. All of the sugar and salt go into the food processor with the first portion of flour.
Ice water. Add it gradually and let the dough tell you when it’s ready. The total amount can vary with your flour, butter, humidity, and mixing conditions.
How to Make Homemade All-Butter Pie Crust
Step 1: Freeze and Grate Part of the Butter
Measure 56 g of butter and freeze it until it’s firm enough to grate. Using a standard box grater, grate the butter by hand on the large holes. Keep the shreds as separated as possible, then return them to the freezer while you make the rest of the dough.
Don’t use the food processor’s shredding attachment for this step. When I tried it, the butter warmed and clumped.
Step 2: Make the Butter Paste
Add 212 g flour, all of the sugar, and all of the salt to a food processor fitted with the standard metal blade. Pulse briefly to combine.
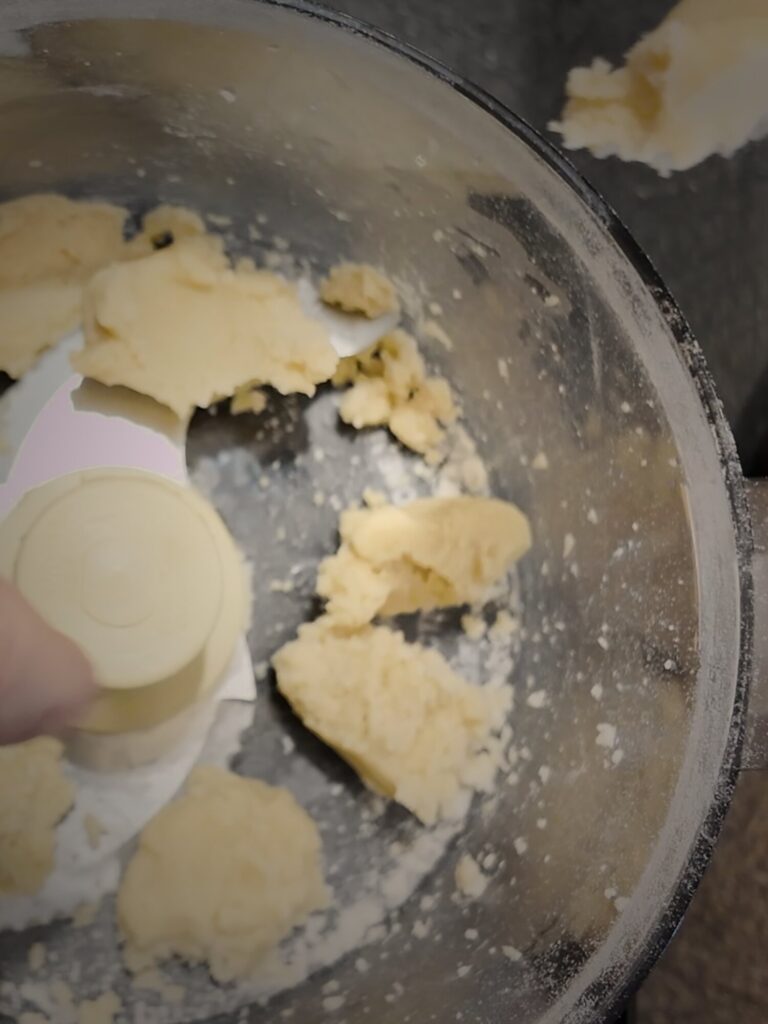
Add the remaining 228 g cold butter, cut into cubes. Process until the butter and flour are thoroughly incorporated and form a cohesive, paste-like mixture.
This is intentionally different from most pie crust instructions. You’re not looking for pea-sized pieces of butter here.
Step 3: Add the Remaining Flour
Add the remaining 142 g flour. Pulse briefly, about 4 to 5 times, to incorporate the flour and break the paste into smaller pieces. It should look crumbly again. Avoid processing it too much.
Step 4: Fold in the Frozen Grated Butter
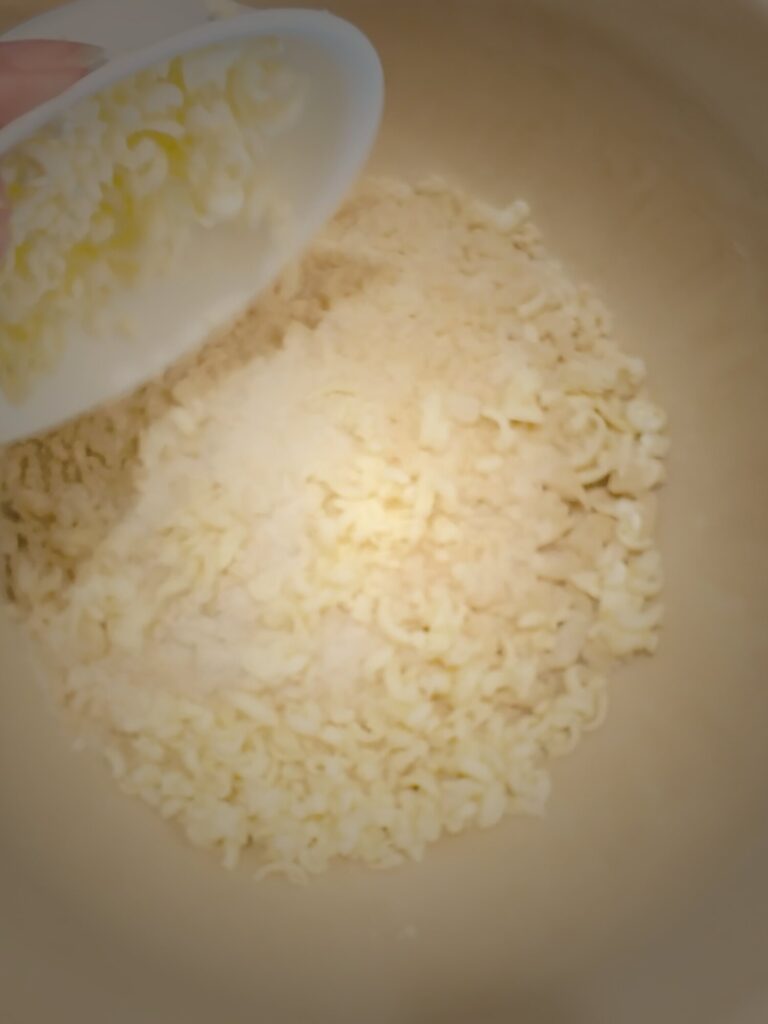
Transfer the mixture to a large bowl. Take the grated butter out of the freezer and gently fold it into the flour mixture, keeping the butter pieces distinct rather than mixing them into a paste. These pieces help create the flaky layers.
Step 5: Add Ice Water Gradually
Start with about 2 tablespoons of ice-cold water. Gently work it into the dough, then keep adding small amounts as needed.
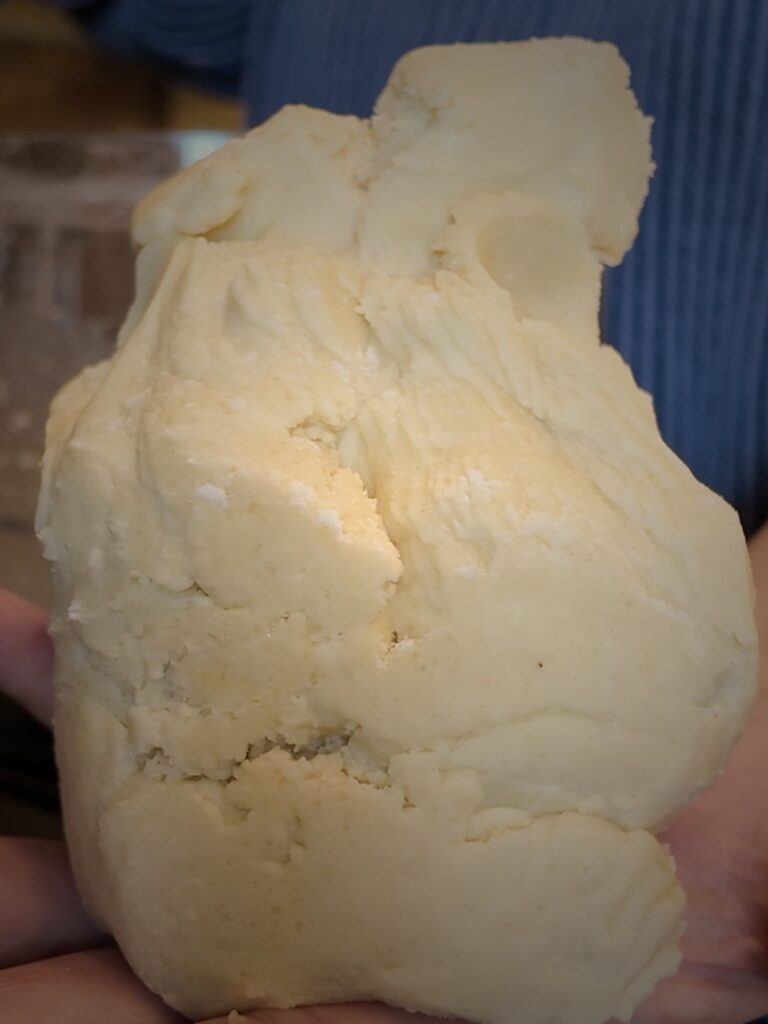
Aim for dough that’s slightly more hydrated than the bare minimum needed to hold together when squeezed. It should be cohesive and workable without becoming wet or sticky.
Step 6: Divide and Shape
Gently gather the dough together without kneading it much. Divide it into two equal portions and form each one into a disk about 1 inch thick. Don’t try to knead the dough until it’s perfectly smooth.
Step 7: Wrap and Refrigerate
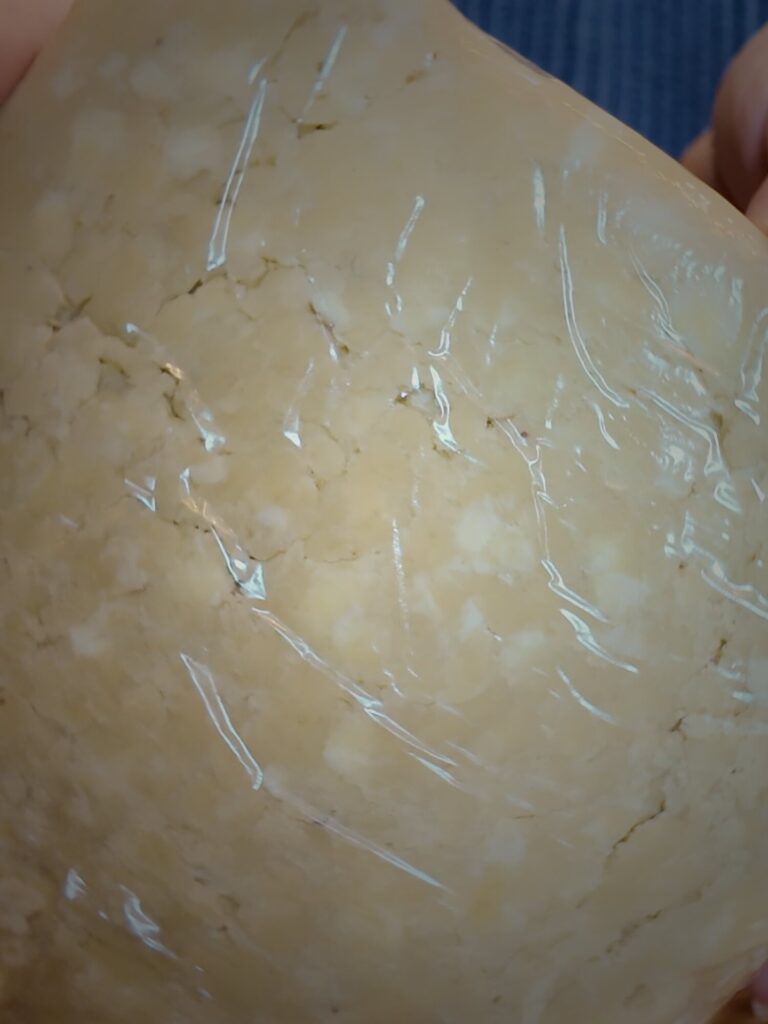
Wrap each dough disk individually in cling wrap. Then place both wrapped disks together in one large zip-top bag, press out the excess air, and seal. Refrigerate for at least 2 hours.
Step 8: Roll and Use
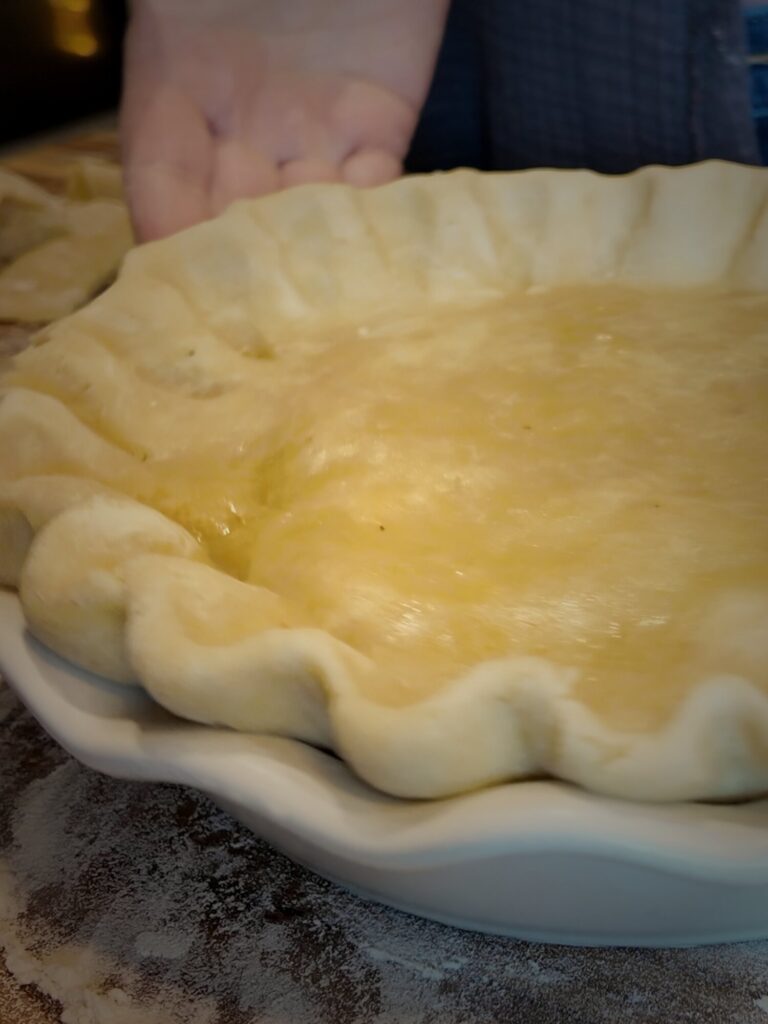
Take the chilled dough out and let it become just workable enough to roll, while still keeping it cool. Roll it on a lightly floured surface to about ⅛-inch thickness.
Expect some cracks or rough edges. They can be gently patched.
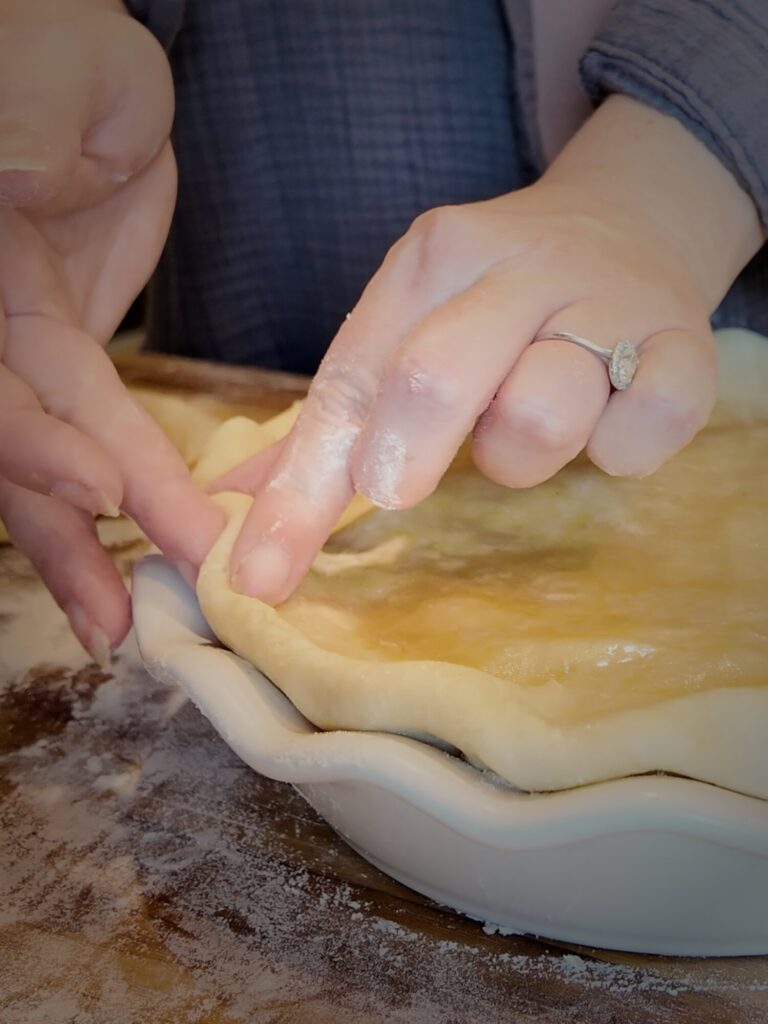
Use both crusts for a double-crust pie, and follow your filling recipe for the baking temperature and time.
Using This Crust in Different Recipes
Because this is my master crust for both sweet and savory pies, I don’t give one universal baking time. Different fillings bake at different temperatures and for different lengths of time, so follow the recipe for whatever you’re filling it with.
I tested this batch on chicken pot pie. If you only need a single crust, halve the ingredient quantities.
Tips for Beautiful Flaky Layers
- Grate the butter by hand. A box grater kept my frozen butter shreds separate; the food processor shredding attachment didn’t.
- Keep the shreds frozen. Return the grated butter to the freezer until you’re ready to fold it in.
- Make a true paste first. It will look different from other pie crust recipes, and that’s the point.
- Don’t over-process the second addition of flour. A few short pulses are enough to make it crumbly again.
- Fold gently. Keep the grated butter pieces distinct instead of working them into the dough.
- Don’t stop at the bare minimum of water. Slightly more hydrated dough was easier to roll.
- Skip the kneading. Gather the dough together; it doesn’t need to be smooth.
- Keep it cool. Let the chilled dough warm just enough to roll.
- Patch, don’t panic. Cracks and rough edges are normal with an all-butter crust.
Storing and Making Ahead
Wrap each disk of dough individually in cling wrap, then place both wrapped disks in one large zip-top bag. Press out the excess air, seal the bag, and refrigerate for at least 2 hours before rolling.
Since the dough needs that chilling time anyway, it’s easy to make the crust ahead and have it ready when you’re ready to assemble your pie.
Frequently Asked Questions
Do I need European butter for this pie crust?
No. I made this crust with regular American unsalted butter, and it turned out excellent. You can use European-style butter if you prefer it, but I haven’t compared the two.
Can I use the food processor to shred the frozen butter?
I don’t recommend it. I tried the shredding attachment on my first batch, and it warmed the butter enough that the shreds clumped together. Grating by hand with a box grater worked much better.
How much water does this pie dough need?
There isn’t one exact amount. I started with about 2 tablespoons of ice water and added roughly a couple more as I worked the dough. Add it gradually until the dough is cohesive and workable, slightly past the point where it barely holds together, without becoming wet or sticky.
Why is my all-butter dough cracking?
Some cracking is normal. All-butter dough is less flexible than dough made with shortening or lard, especially at the edges. Let the chilled dough soften just enough to roll, make sure it isn’t too dry, and gently patch any cracks.
Can I make a single crust?
Yes. This recipe makes two crusts for a 9-inch double-crust pie. For a single crust, halve the ingredient quantities.
What temperature should I bake the crust at?
Follow the recipe for your filling. Because this crust is meant for different sweet and savory pies, the baking temperature and time depend on what you’re making.
Why not use shortening or lard?
Shortening and lard both make good pie crusts and are more forgiving to roll. I chose an all-butter crust because I prefer the flavor and like using butter as a simple, familiar ingredient.
Worth the Extra Effort
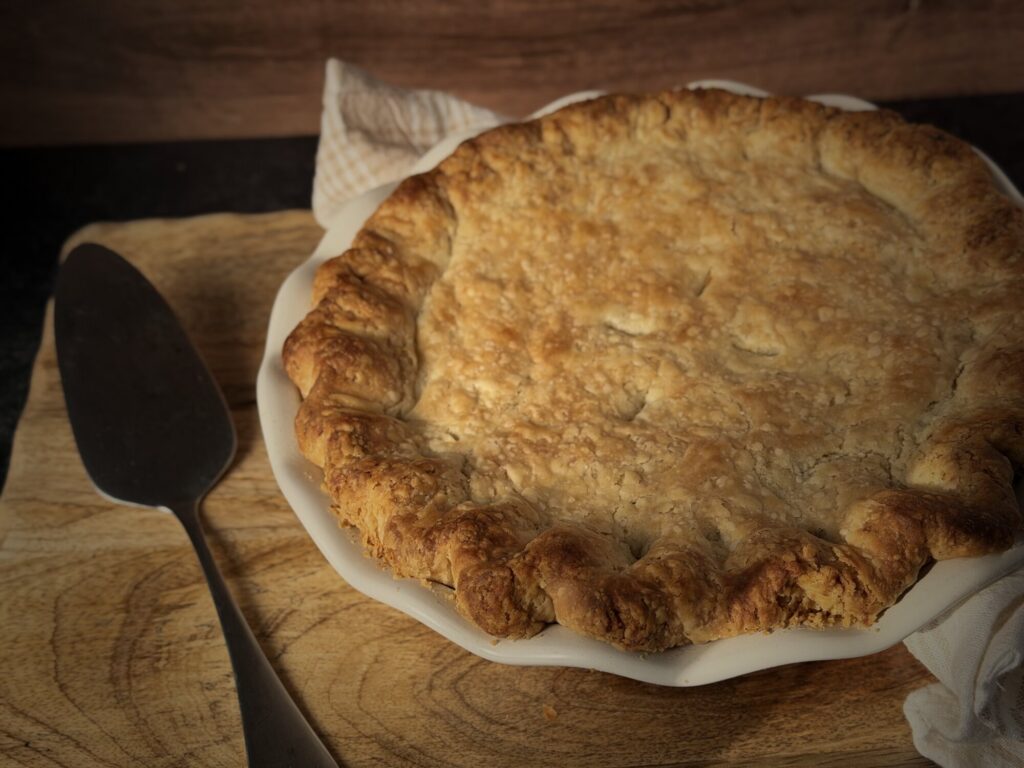
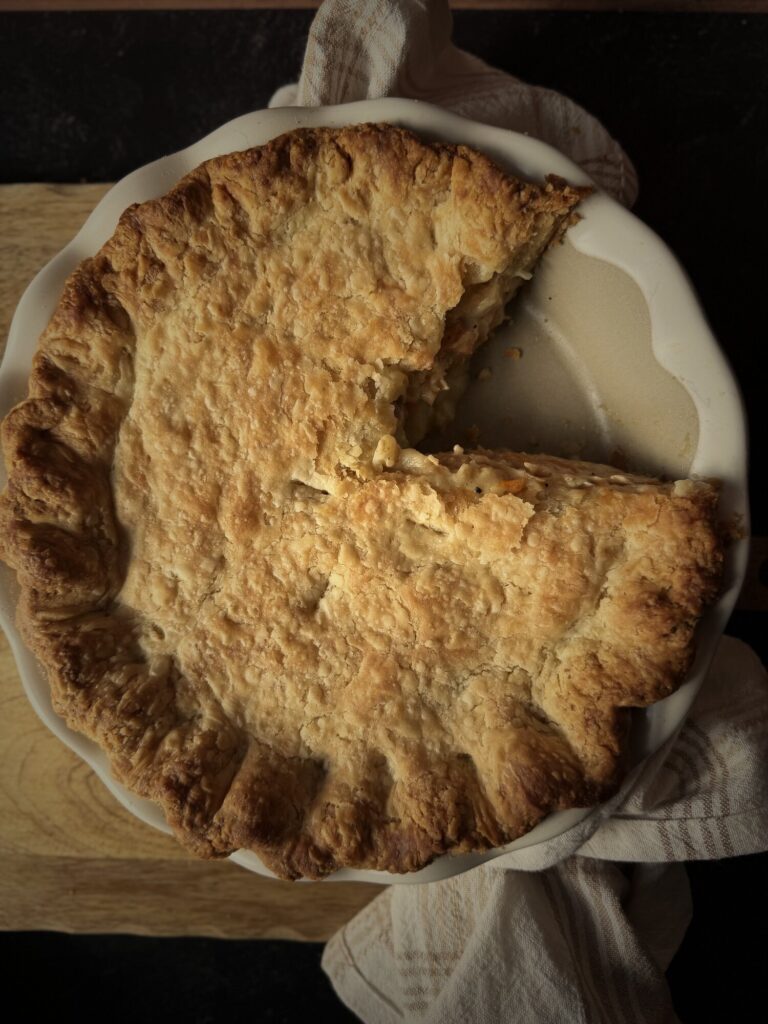
This homemade all-butter pie crust takes a little more patience than some recipes, and it will never look perfectly polished. But the chicken pot pie I made with it had a crust with excellent butter flavor, beautiful flaky layers, and that rustic homemade look I love. That’s exactly what I wanted from my master crust.
If you make it, I’d love to hear how it goes. Leave a comment below and tell me what you’re filling yours with.
Homemade All-Butter Pie Crust
Ingredients
Equipment
Method
- Grate the frozen butter. Measure 56 g of the butter and freeze until firm enough to grate. Grate it by hand on the large holes of a box grater, keeping the shreds as separated as possible. Return the shreds to the freezer while you prepare the rest of the dough. Don’t use a food processor shredding attachment for this step.
- Make the butter paste. Add 212 g flour, all of the sugar, and all of the salt to a food processor fitted with the standard metal blade. Pulse briefly to combine. Add the remaining 228 g cold butter, cut into cubes, and process until the butter and flour are thoroughly incorporated and form a cohesive, paste-like mixture.
- Add the remaining flour. Add the remaining 142 g flour and pulse briefly, about 4–5 times, to incorporate it and break the paste into smaller pieces. The mixture should look crumbly again. Avoid processing excessively.
- Fold in the grated butter. Transfer the mixture to a large bowl. Remove the grated butter from the freezer and gently fold it in, keeping the butter pieces distinct rather than mixing them into a paste.
- Add ice water gradually. Start with about 2 tablespoons of ice-cold water and gently work it into the dough. Continue adding small amounts as needed until the dough is slightly more hydrated than the bare minimum needed to hold together when squeezed. It should be cohesive and workable without becoming wet or sticky.
- Divide and shape. Gently gather the dough together without excessive kneading. Divide it into two equal portions and form each into a disk about 1 inch thick. Don’t knead until perfectly smooth.
- Wrap and refrigerate. Wrap each disk individually in cling wrap, then place both wrapped disks in one large zip-top bag. Press out the excess air, seal, and refrigerate for at least 2 hours.
- Roll and use. Let the chilled dough become just workable enough to roll while keeping it cool. Roll on a lightly floured surface to about ⅛-inch thickness. Expect some cracks or rough edges; gently patch them. Use for a double-crust pie, and follow your filling recipe for baking temperature and time.